Chapter 2: Creating our first UI component
Now that we have our project set up and are aware of the different approaches available, we can create our first UI component.
This will be a simple component that will demonstrate one of the most important features of Gameface - its dynamic data-binding. The component will be a Clock, placed in the bottom right corner of our HUD.
Mocking our data
Before we begin writing our HTML and JavaScript, we need to figure out how we are going to provide the data for our components. In a real-world scenario we will have a game which will provide this data to our UI. Since this tutorial focuses more on the Frontend features of Gameface, we will need a way to mock this data. Luckily, Gameface allows us to use JavaScript models to mock data that will be passed to the UI. This is useful in instances where there is no backend implemented just yet, and allows the UI developers to continue with their work.
To start, we are going to create a new file called model.js along with the other project files. Inside, we will make a new constant that will be our model object:
const model = {

}
Since we will be making a clock, we can add the following key to this object:
const model = {
    time: "10:20"
}
With a random value.
Now that we have our object, we can register it as a model. To do that, first we will need to write the following code:
engine.whenReady.then(() => {

})
This is because we need to wait for Gameface to load before registering our model. To do that we need to use engine.whenReady which will return a Promise. After that promise is resolved in our then() function, we can register and start using our models.
Now that we know Gameface is ready, we can register our model. This happens by using the engine.createJSModel function:
engine.whenReady.then(() => {
    engine.createJSModel('PlayerModel', model);
    engine.synchronizeModels();
})
The first argument is a String and it will be the name of our model. For this example we will use ‘PlayerModel’. And the second argument is the object that will be registered as a model. Here we will use the one that we created earlier. This now registers our model as a global variable that we can access.
After registering our model we need to call engine.synchronizeModels(). That will sync our model with the bindings (if there are any) and update them.
Once we have our model registered, we need to include it in our project. To achieve that, we can add a script tag to our index.html with our model.js file. Note, that in order for the engine module to be available, we need to include our script tag bellow the one for cohtml.js:
<script src="./cohtml.js"></script>
<script src="./model.js"></script>
Creating our component
Once the file has been included, we can proceed with creating the clock component. This is a simple component that will display the hours and minutes of the game, based on the model that is provided.
To create the clock component we will create a wrapped div with the class: hud (inside the body tag in the index.html) that will contain all of our HUD elements. Inside that wrapper we will create another div with the class clock and write the time inside to be 22:35 for example.
<div class="hud">
        <div class="clock">22:35</div>
</div>
Before we bind the time of our new clock with the model, we first need to preview if everything looks as expected - we can use the Player for this purpose.
Once the Player application has been opened, you can drag and drop the index.html file that you modified inside it.
If everything is done correctly you should see the following:
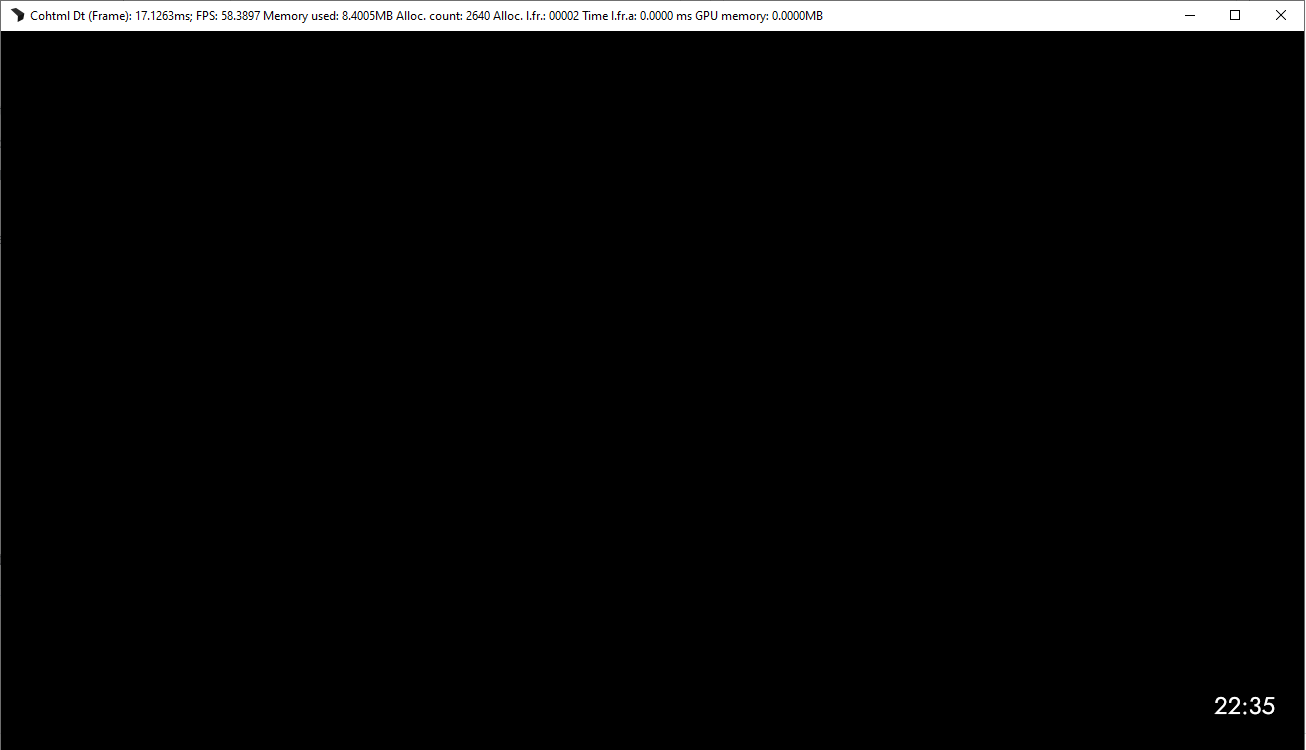
Great, now our clock is visible in the bottom right corner and it shows the time we’ve set. We can now continue with binding its value to the model we registered earlier.
Binding our mocked data
To achieve this we will use the following attribute (only available in Gameface) - data-bind-value. data-bind-value changes the internal text of the element to the value of the model passed. The value we will pass is {{PlayerModel.time}}:
<div class="clock" data-bind-value="{{PlayerModel.time}}">22:35</div>
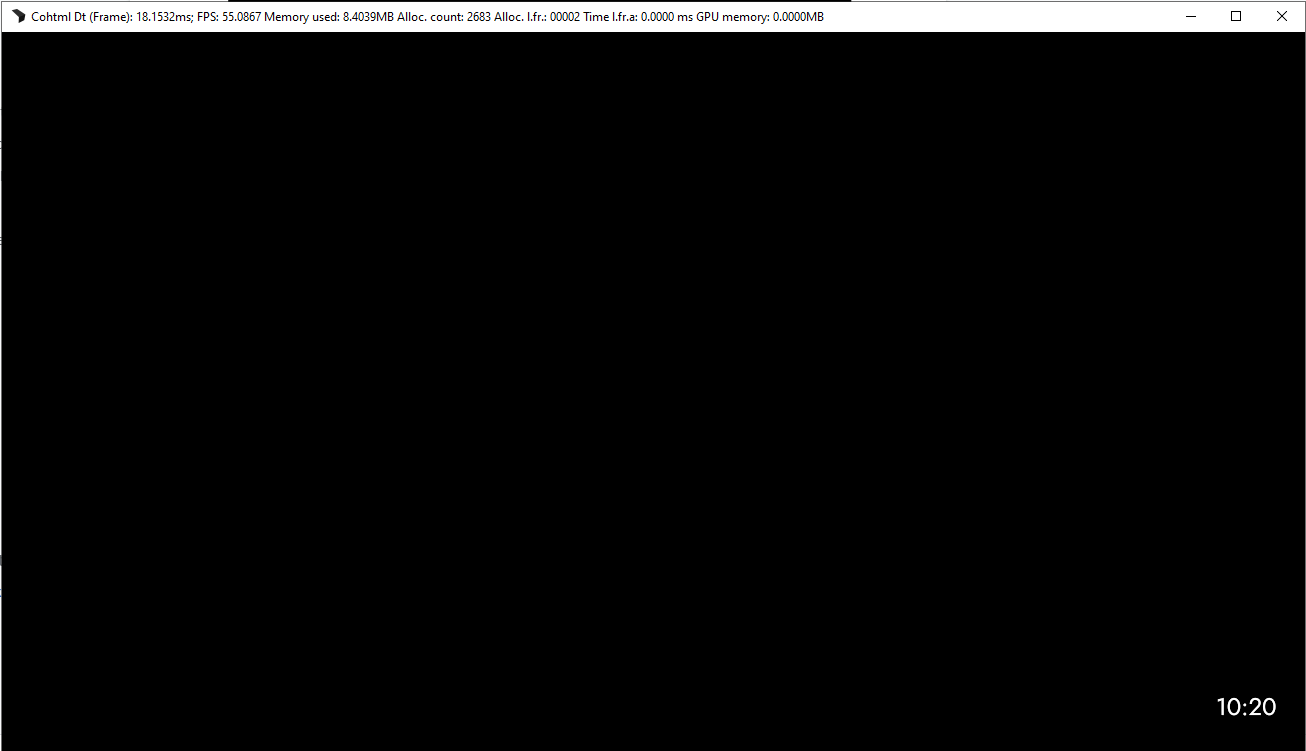
Once completed, we can check the Player and see if the time has been updated to 10:20 as it is in the model. To refresh the Player with the new changes simply press F5 (as you normally would in the browser).
Now we can see that the time is set to the one from the model:
If we go and change the model to a different time (for example, 12:20), then refresh, we will see the change reflected in the Player.
Data binding is one of the ways we can connect the game with the UI. There are more bindings available apart from value - these will be covered in the next chapters.
Updating our clock to the system time
Now that the mock data is bound to our UI, we can create a function to automatically change the time each minute.
To do that, first we will create a function that will get us the current time in a HH:MM format. we will call this function getCurrentTime and add the following code:
function getCurrentTime() {
    const date = new Date();

    return `${date.getHours()}:${date.getMinutes()}`;
}
This will return us the current hour and minutes.
We can now change the value of our initial time with that of our function:
const model = {
    time: getCurrentTime(),
};
To have our time update, we can create another function called updateCurrentTime() and place the following code inside:
function updateCurrentTime() {
    setInterval(() => {
        PlayerModel.time = getCurrentTime();
        engine.updateWholeModel(PlayerModel);
        engine.synchronizeModels();
    }, 60000)
}
Now every minute the clock will be updated with the current time. (In general, this is not a very accurate way to update time, but it is suitable for the purpose of this tutorial.)
From this code, the most important thing to note is the engine.updateWholeModel and engine.synchronizeModels functions - those functions need to be called each time an update of the model from the JS side is required. updateWholeModel updates the registered model, whereas synchronizeModel synchronizes the changes with the bound elements.
We can then call our function in the engine.whenReady promise.
engine.whenReady.then(() => {
    engine.createJSModel("PlayerModel", model);
    engine.synchronizeModels();
    updateCurrentTime();
});
Once we run the page in the Player again, we should see the accurate update of the current time (reflecting the time change every minute).
We have now created our first UI component and successfully connected it to the game (although it was mocked). This concludes Chapter 2. In the sample for this tutorial you can see the complete code in the chapter_2 folder.
Next in Chapter 3 we will create more mocked data and introduce new types of data-binding
Get the chapter files
You can download the completed chapter from here