Chapter 3: Health Bar
In this chapter we will create a health bar in our UI using some new types of data-binding.
Add health values to our model
To get started, we will first add two new properties to our model - currentHealth and maxHealth. These will be used to determine how much of the health bar is filled and to display the information as a number next to it. For now we will set both to 100.
currentHealth: 100,
maxHealth: 100
Next in the index.html file we will create a health bar container and inside we will add the health bar:
<div class="health-bar-container">
    <div class="health-bar"></div>
</div>
Inside the health bar we will add a health bar fill, which will show how much of the total health we have left.
<div class="health-bar">
     <div class="health-bar-fill"></div>
</div>
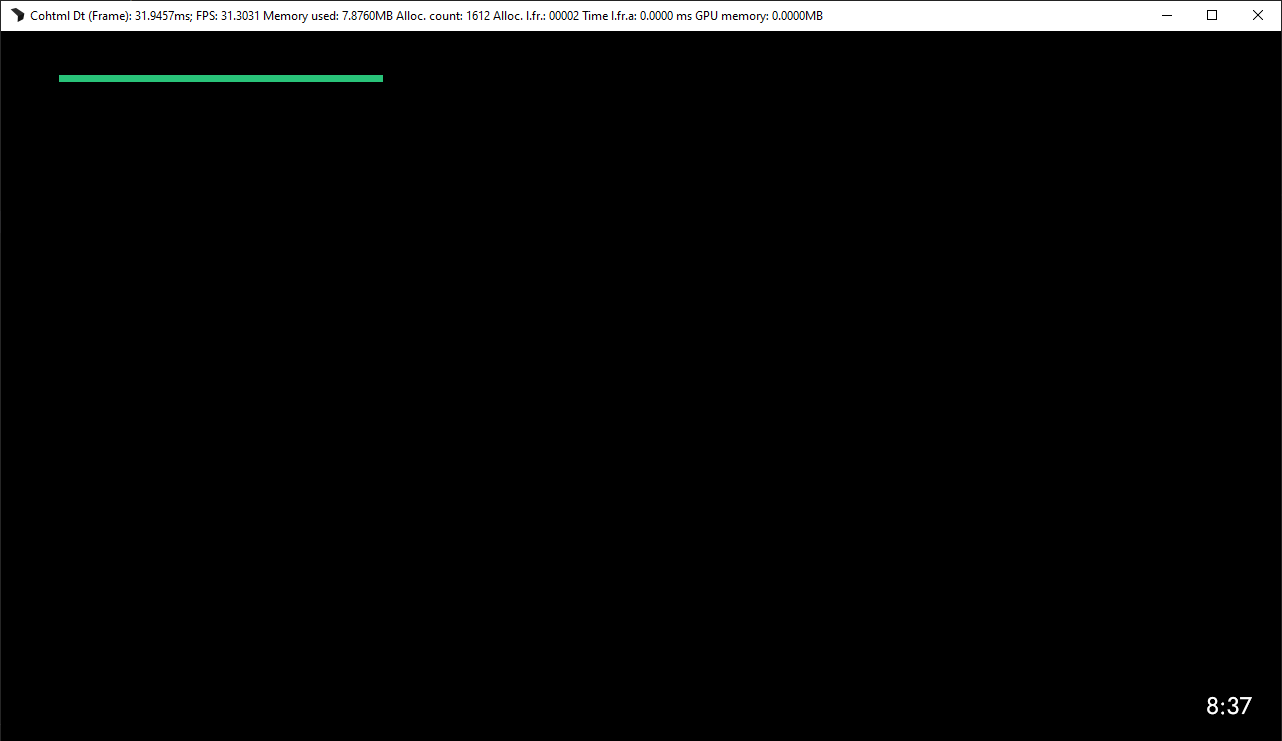
Now if we open our project in the Player, we will see the following:
Binding width
Now that we have the health bar, we can link it to the model. To do that we will use data-binding again - however, this time we will leverage data-bind-style-width instead of data-bind-value,. This will allow us to control the width of the fill according to the model.
<div class="health-bar-fill"
     data-bind-style-width="{{PlayerModel.currentHealth}} + '%'"></div>
Per the above code, you can see that after the model there is an added “+ ‘%’”. This is because the width property expects a number and a unit (if these are not specified, it will default to pixels). Since we want the health bar fill to be relative to the whole width of the health bar, we will use a percentage.
If we open the index.html file in the Player, we will see that nothing has changed. The reason is that we set the currentHealth to 100 and this will result in a width of 100 percent. Let’s change it to 50 to see how the health drops down to the middle of the health-bar.
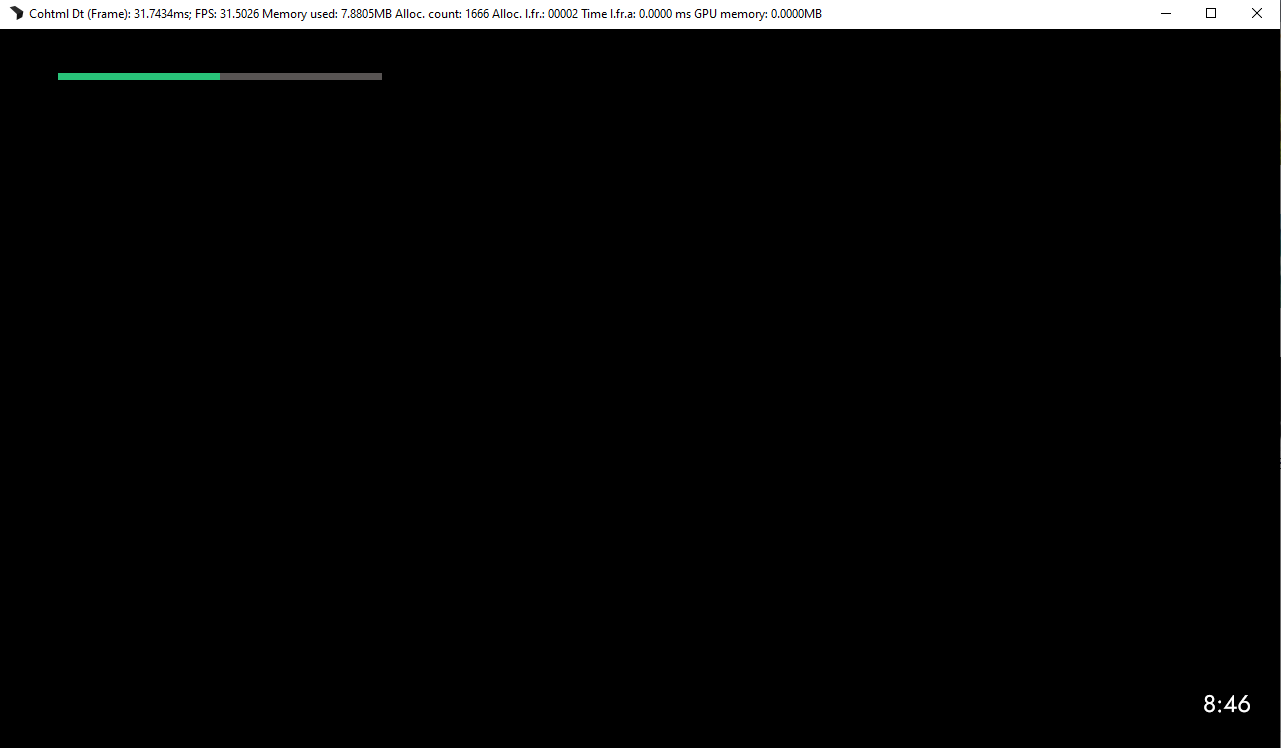
Great! But what about the maxHealth property we set?
Currently, this is set up with a maxHealth of 100, but what if we want it to be 120? Creating a helper function will allow us to see what percentage of the maximum value the current health is.
In the script js file, we will add the getCurrHealthPercent function with parameters current and max. You may now wonder, why do we add parameters to the function if the model is globally available (as we saw in the previous chapter)? The reason is that data-binding expects us to pass a model property to it (regardless if we use it as a parameter to a function).
After we write the function name and parameters, we will add the following code inside:
function getCurrHealthPercent(current, max) {
    return (current * 100) / max;
}
In the index.html, where we wrote the data-bind-style-width attribute, we can now replace the model that we wrote with the following:
<div class="health-bar-fill" data-bind-style-width="getCurrHealthPercent({{PlayerModel.currentHealth}}, {{PlayerModel.maxHealth}}) + '%'"></div>
Once completed, refreshing the page (using F5) will show no difference to the max health of 100. But if we change it to 150, we will see the health bar become ⅓ of the way full instead of half full.
Adding a value to our health bar
Now that we have a working health bar, we can display the current health as a number to the side of the health bar. To achieve this, we will simply add a new element to the health-bar-container:
<p class="health-counter"></p>
You may be wondering why we would use a paragraph tag instead of a regular div. The reason is that CoHTML doesn’t support inline elements out of the box. On that basis, we have to use the cohinline feature which works only with the <p> tag. This will allow us to have all the elements to be inline inside.
To enable it we just need to add cohinline to our <p> tag. Inside the paragraph we can add the current health and the HP text.
$nbsp; which is a non-breaking white space to give some space between the elements<p class="health-counter" cohinline>
<div class="current-health"></div>
HP
</p>
To display the current and max health we can use the data-bind-value attribute we learned from the previous chapter:
<div class="current-health"
     data-bind-value="{{PlayerModel.currentHealth}}"></div>
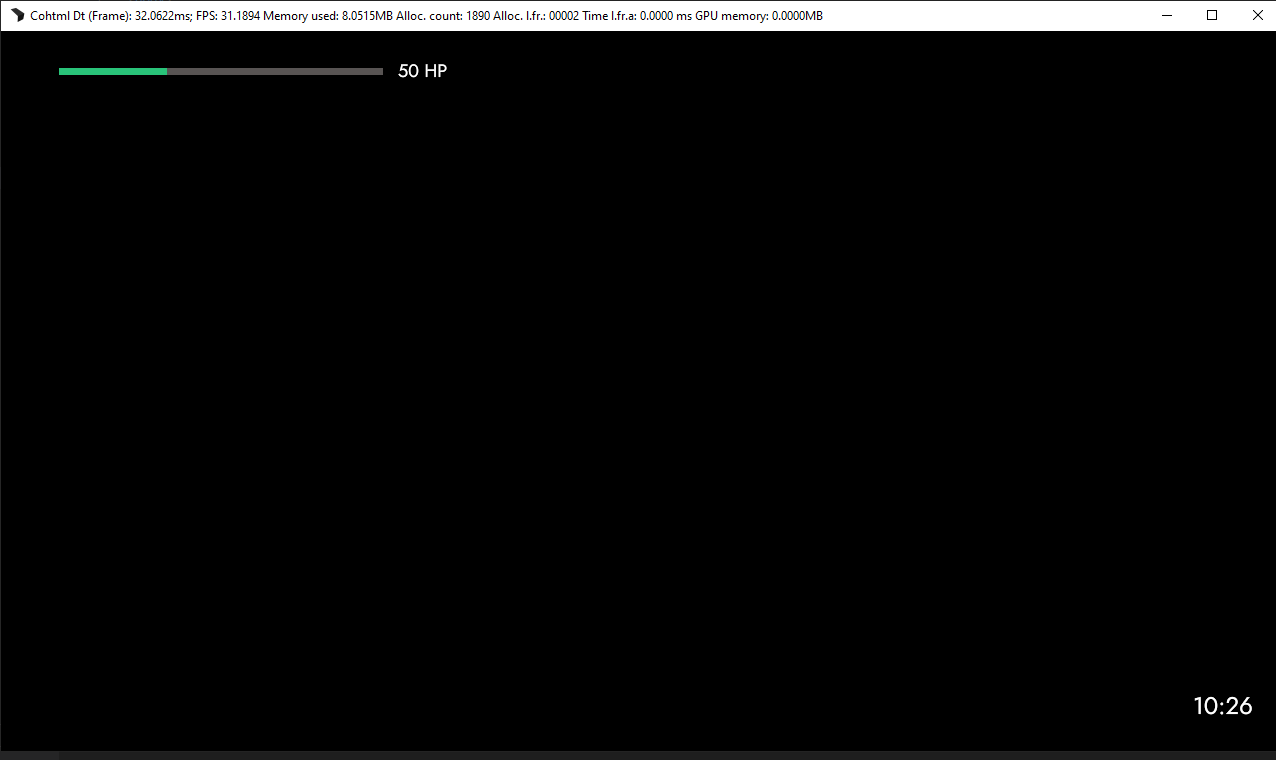
By doing this we can now see exactly how much health we have left:
We can now return our currentHealth and maxHealth to 100 in our model.
Changing health bar color based on data
Next we can add colors to our health bar based on the percent of health left. For example, if the health percent drops below 50, we want the color of the health bar to reflect this by turning from green to yellow.
To do this we can use the data-bind-class-toggle attribute, which allows to add or remove a class based on a value in the model. To utilize this attribute we will write the following code:
data-bind-class-toggle="health-warning:getCurrHealthPercent({{PlayerModel.currentHealth}}, {{PlayerModel.maxHealth}}) < 50"
It may seem confusing at first, but the logic behind data-bind-class-toggle is simple. In order for it to work, we need to pass two elements for the attribute - the class we want to toggle followed by a colon, and the expression which will toggle the class if true.
For example: data-bind-class-toggle=”class-we-want-to-toggle: {{Model.expression}} === true” In this case, we will toggle the health-warning class if the percent from our gerCurrHealthPercent function is less than 50.
Now we can set the currentHealth in our model to 40 and see how the color of the health bar changes.
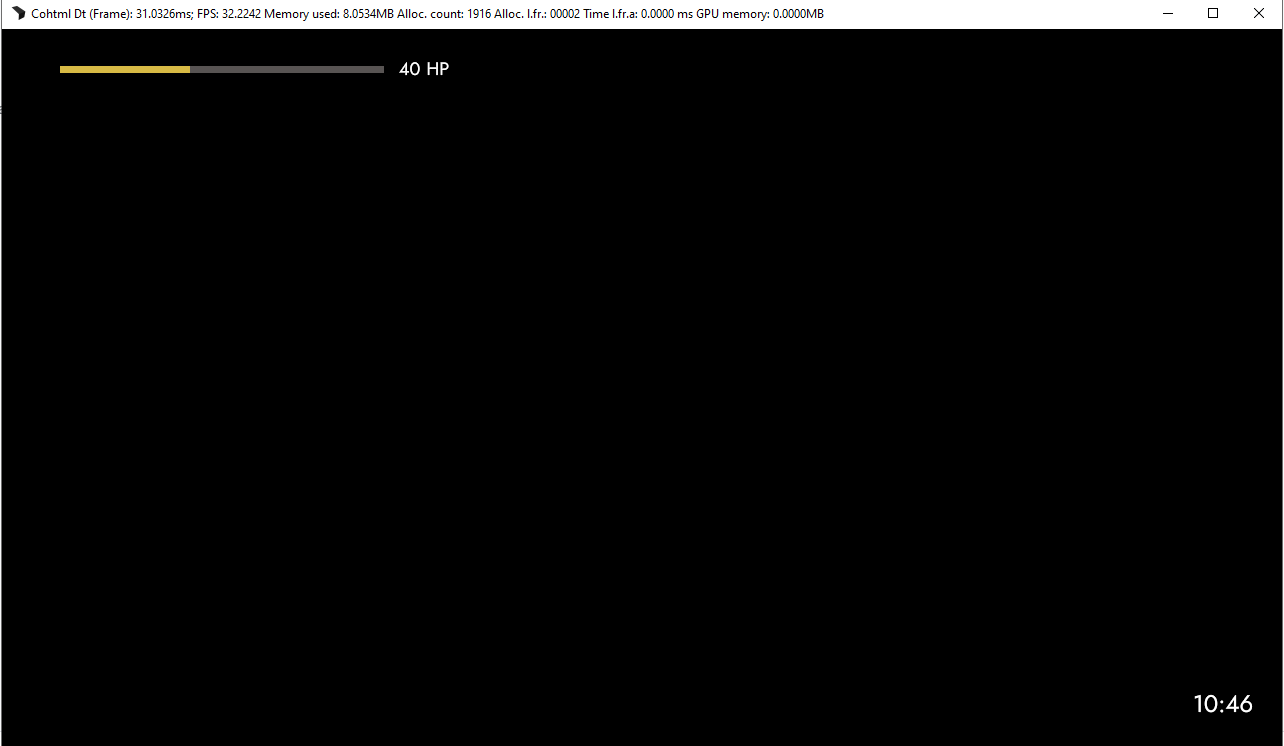
But what if we want to add another color? Let’s say we’d like the health bar to turn red if it drops below 25%. What we can do here is add another expression that will toggle that specific class. To achieve this, we just need to add a new data-bind-class-toggle expression, but instead of writing the same attribute again, we can use the already added one and separate the expression with a semicolon:
data-bind-class-toggle="health-warning:getCurrHealthPercent({{PlayerModel.currentHealth}}, {{PlayerModel.maxHealth}}) < 50;health-danger:getCurrHealthPercent({{PlayerModel.currentHealth}}, {{PlayerModel.maxHealth}}) <= 25"
Then we set the currentHealth in our model to 20:
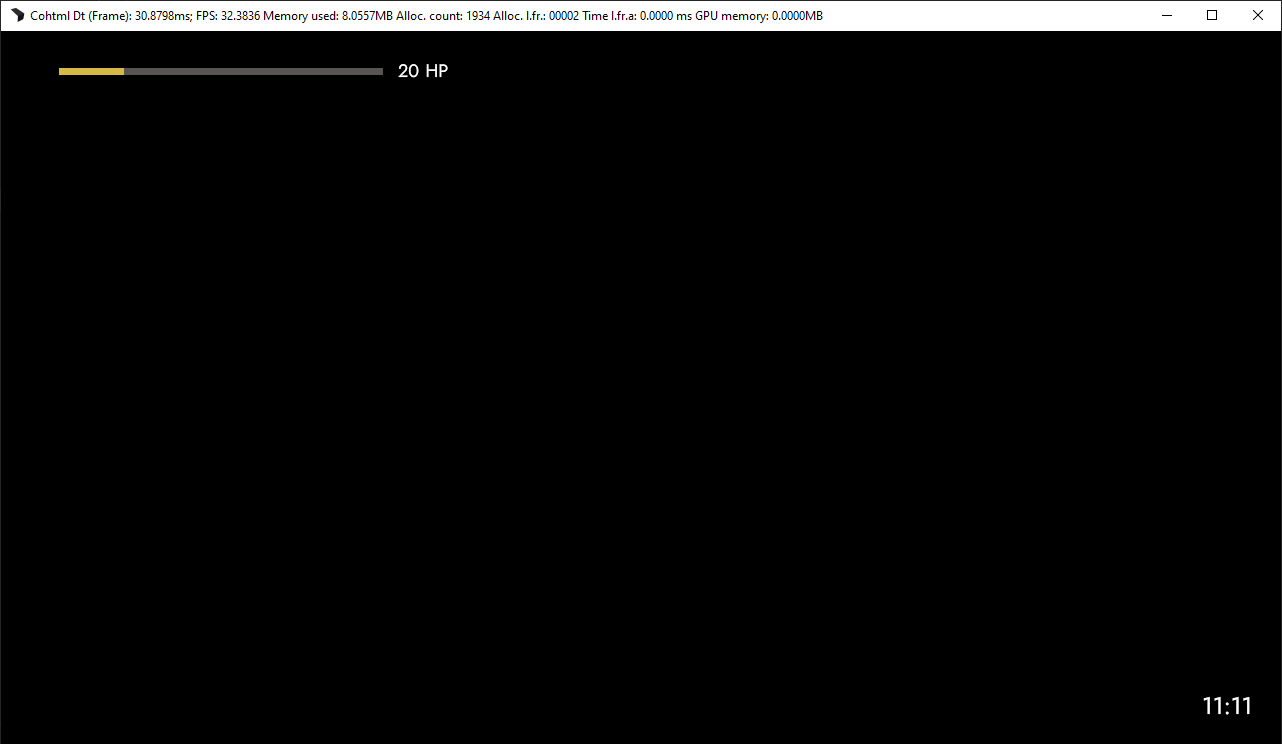
Wait a minute, the color of the bar is still yellow and not red. Did we do something wrong?
The reason that this happened is because 20 is still under 50, which was the first expression we wrote - in instances where both expressions match, the first one that matches will take precedence. To change that, we can change the first expression to match between 25 and 50.
data-bind-class-toggle="health-warning:getCurrHealthPercent({{PlayerModel.currentHealth}}, {{PlayerModel.maxHealth}}) > 25 && getCurrHealthPercent({{PlayerModel.currentHealth}}, {{PlayerModel.maxHealth}}) < 50;health-danger:getCurrHealthPercent({{PlayerModel.currentHealth}}, {{PlayerModel.maxHealth}}) <= 25"
Now when we refresh the page in the Player, we will see that the health bar is red:
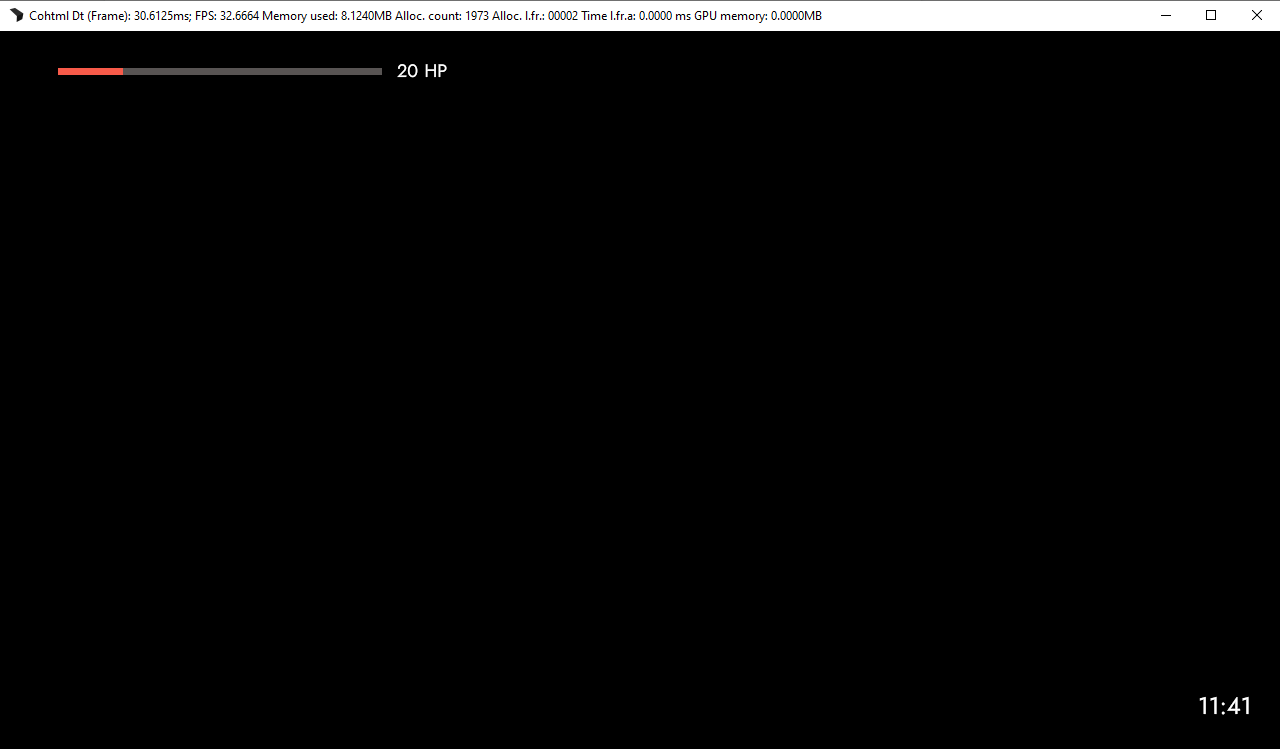
But as we can see, the expressions we wrote in our data-bind-class-toggle attribute are starting to get too long, thus making them hard to read. To fix this we can write a function in our model that will represent these expressions.
In our model we will add the following functions: shouldShowHealthWarning() and shouldShowHealthDanger().
const model = {
    time: getCurrentTime(),
    currentHealth: 20,
    maxHealth: 100,
    shouldShowHealthWarning() {},
    shouldShowHealthDanger() {},
};
We can now copy the expressions from the data-bind attribute inside these functions. Since we are writing inside the model, we can reference it by using the this keyword.
shouldShowHealthWarning() {
    return (
        getCurrHealthPercent(this.currentHealth, this.maxHealth) > 25 &&
        getCurrHealthPercent(this.currentHealth, this.maxHealth) < 50
    );
},
shouldShowHealthDanger() {
    return getCurrHealthPercent(this.currentHealth, this.maxHealth) <= 25;
},
We can now write the following code inside the index.html - it will be both easier to read and more manageable.
data-bind-class-toggle="health-warning:{{PlayerModel}}.shouldShowHealthWarning();health-danger:{{PlayerModel}}.shouldShowHealthDanger()"
In the next chapter we will combine all of the knowledge we have acquired so far, along with a few new data-bindings, and create a minimap component that will move along with the player.
Get the chapter files
You can download the completed chapter from here