Chapter 4: Minimap
In this chapter we will combine all knowledge about data-binding we have gained so far and build a more complex widget - a minimap.
Before we start, we need to decide on the approach we are going to take. For the purpose of this tutorial, we will use different tiles that are part of a larger map and load them through the model. Each tile will have a number that corresponds to its id.
Adding the minimap data to our model
First we will need to add to our model the properties for the minimap. To do that we will create a property minimap that will have an object with all the necessary information. Inside the minimap object there will be the following properties: tileId (corresponds to the minimap tile that we are on), x and y (the coordinates that we are on the minimap) and angle - this refers to where the player is pointed.
minimap: {
        id: 1,
        x: 100,
        y: 100,
        angle: 0
    }
Adding the minimap html
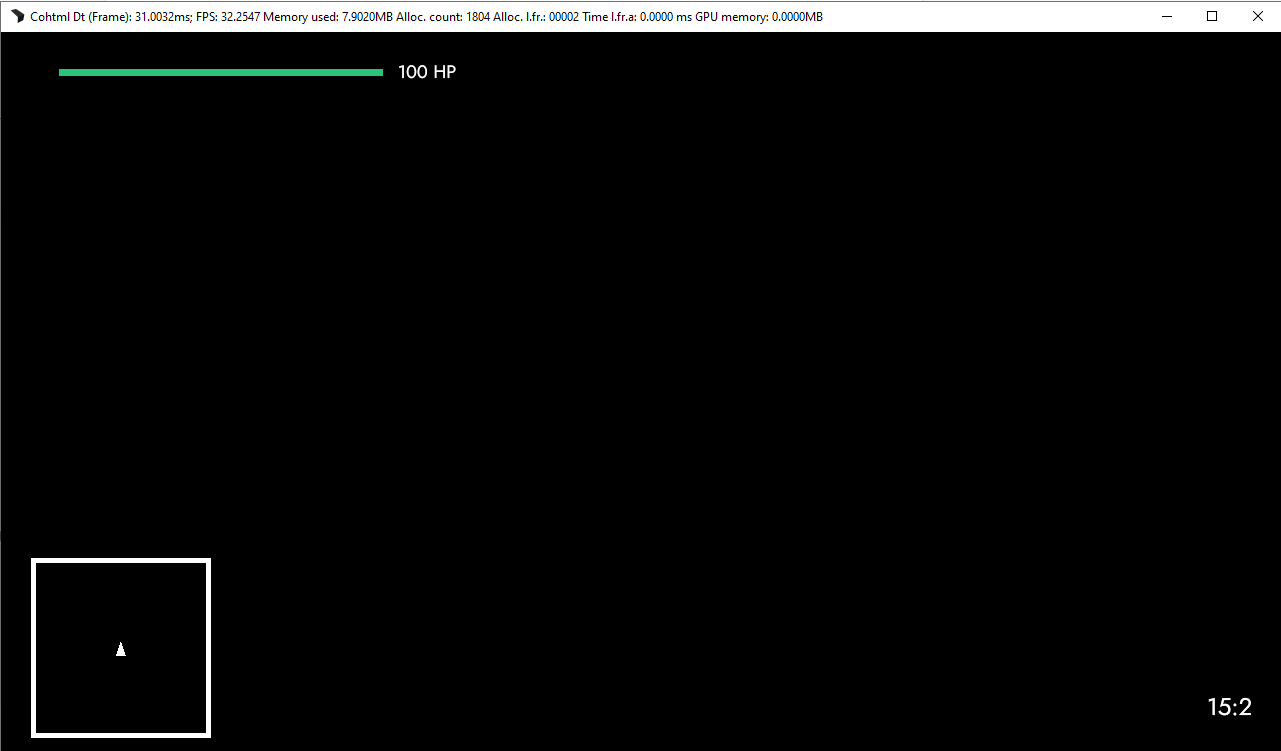
Now it’s time to add the minimap to the index.html. We are going to make a minimap-container with the minimap and the marker. For this approach we will have the marker in the center of the container and we will move the minimap using models.
Let’s add the following markup:
<div class="minimap-container">
    <div class="minimap"></div>
    <div class="marker"></div>
</div>
When we open it in the Player we should see the following:
Binding our data to the minimap
Great! Now lets hook up the model to display the map.
Adding an image
To do that we will use a new data-binding called data-bind-style-background-image-url. This attribute accepts a path to display the background image. All of the map tiles are in the assets folder and have the name - map_1_{{id}}.png, where id refers to the number of the tile. With that information we can write the following attribute to our minimap element:
<div class="minimap" data-bind-style-background-image-url="'./assets/map-1_' + {{PlayerModel.minimap.id}} + '.jpg'"></div>
Here we write the first part of the path and then concatenate it with the model. Another option would be to write the full path in the model, but for this tutorial we’d like to keep the models relatively simple. If you have done everything correctly, you should see the map in the Player.
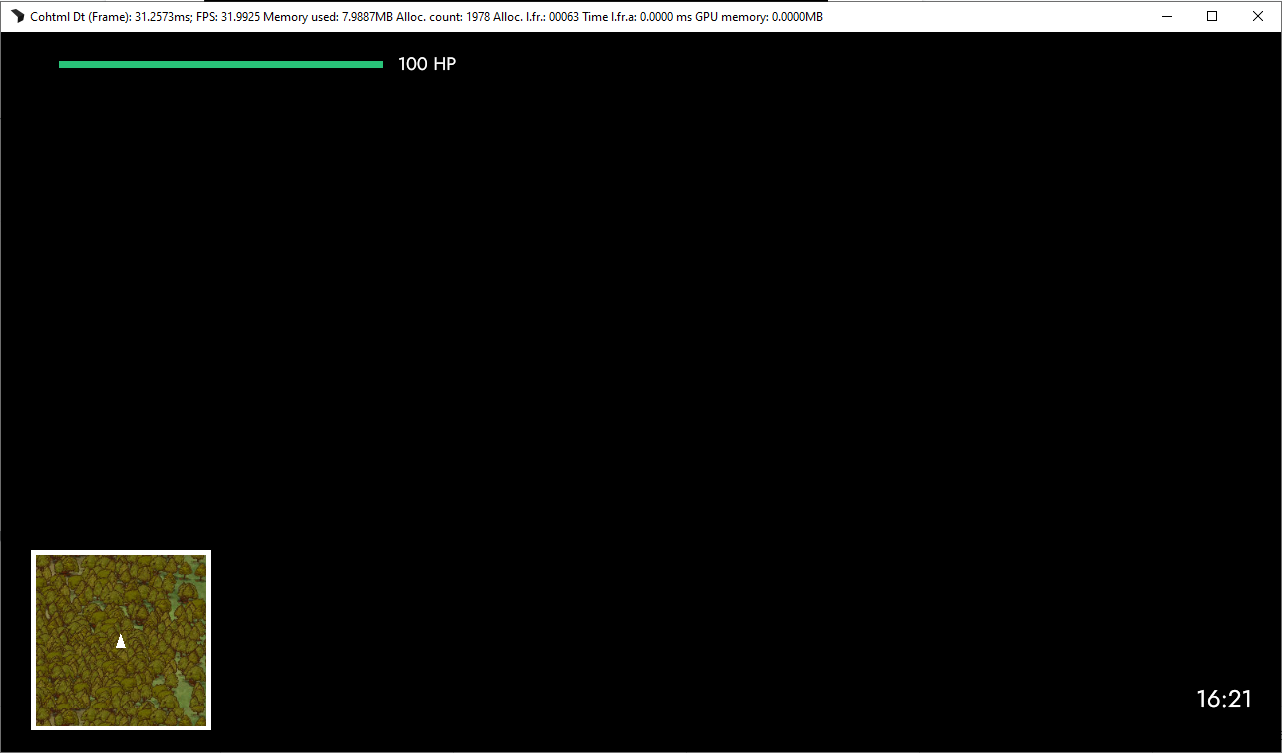
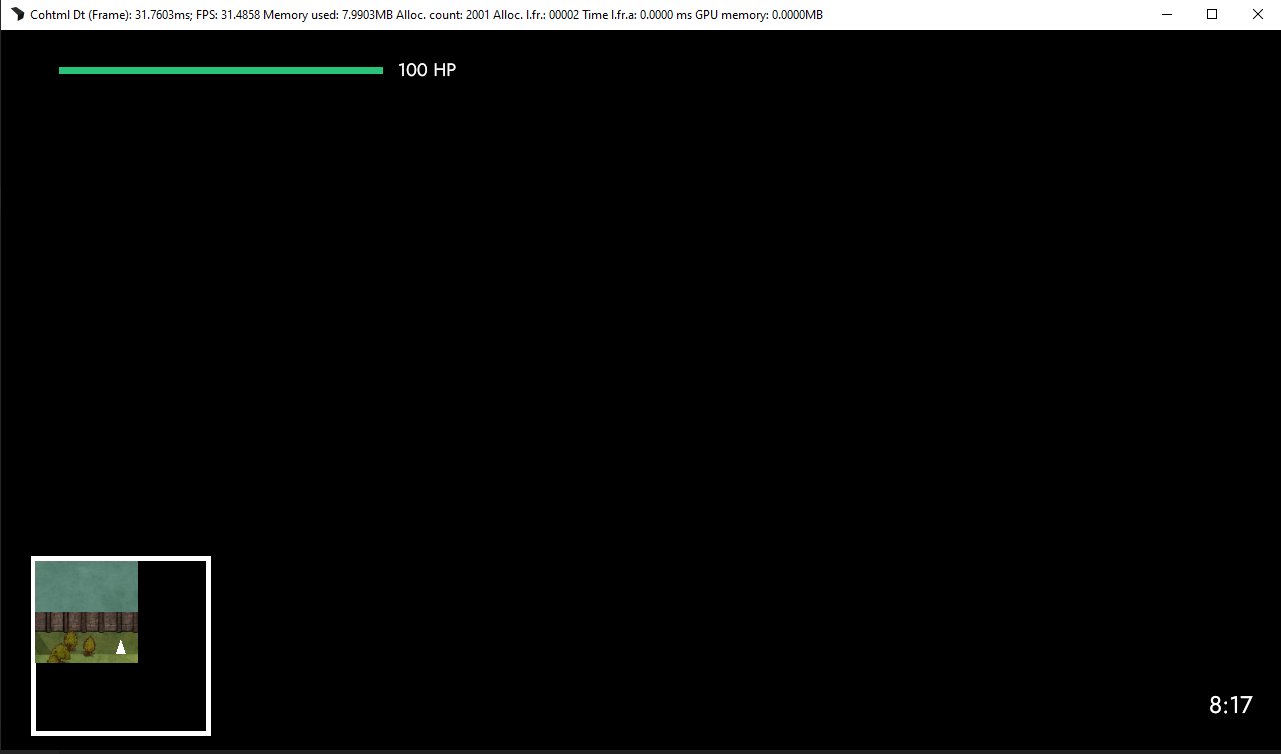
If we now change the id of the map to 8 for example, the map should change as well:
Moving the map
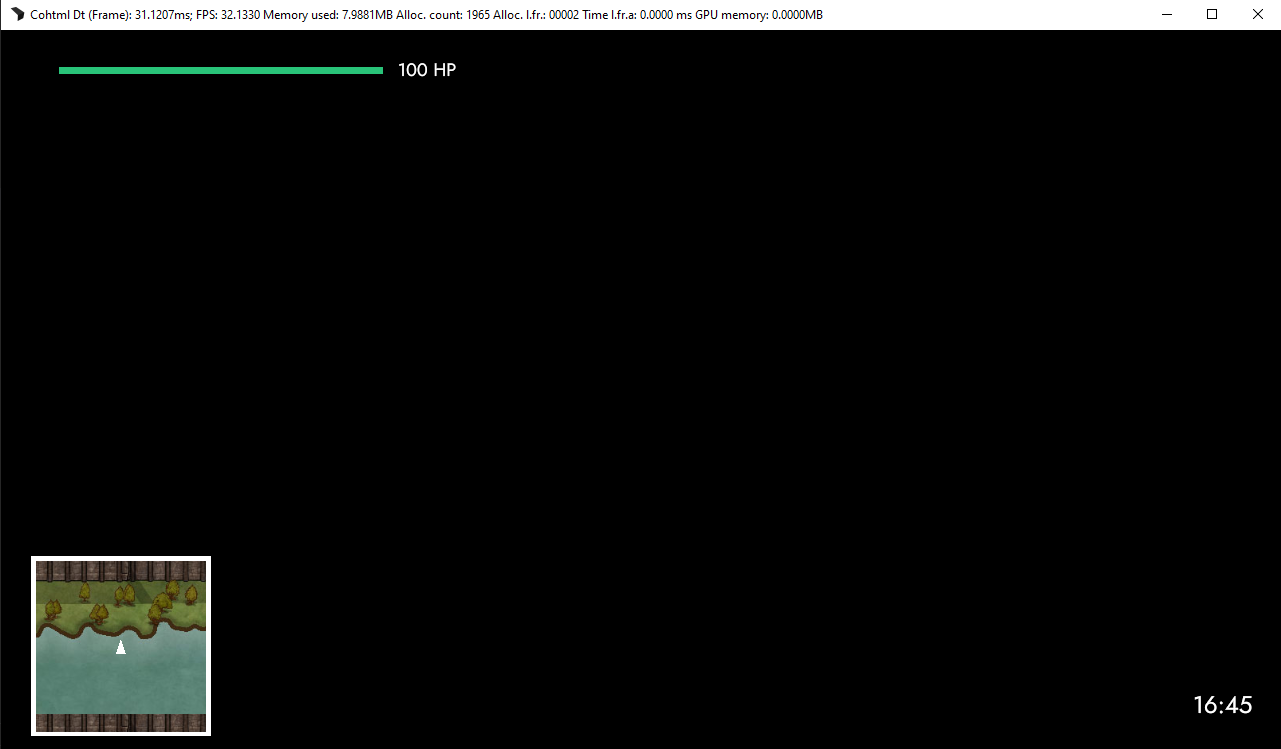
We can now start moving the player around the map. In our example we would not be moving the marker but rather the whole map. To do that we will use the data-bind-style-left and data-bind-style-top attributes. They will allow us to set the left and top coordinates of the map based on the model. Adding these attributes is as simple as writing:
data-bind-style-left="{{PlayerModel.minimap.x}}"
data-bind-style-top="{{PlayerModel.minimap.y}}"
We will see the following once opened in the Player:

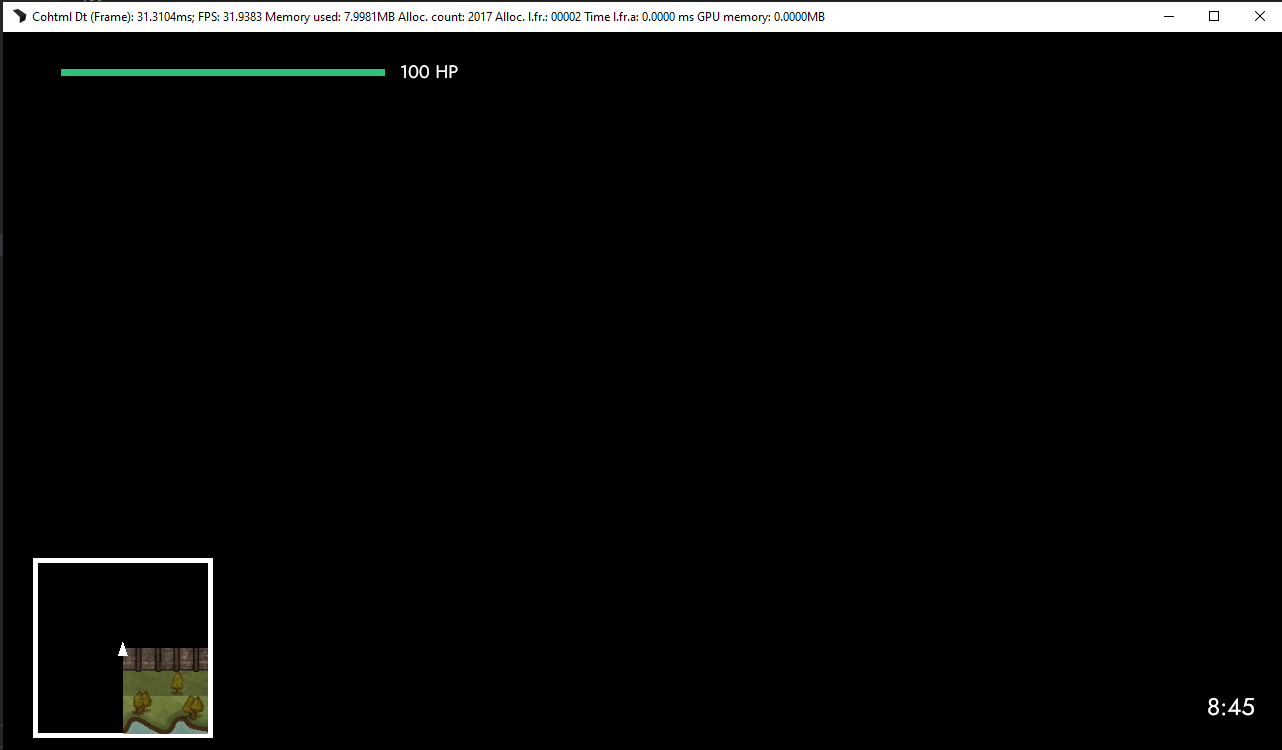
We can see the map being moved by 100 pixels from the top and left, but the reference point is the top left. While this is not a CSS tutorial, we will demonstrate a way to fix this using pure CSS (as it will be something you might come up against often).
There are a couple of ways to place an absolutely positioned element using the center of it as a reference. You can either use a negative margin with half of the width/height or move them back 50%. Since in this and many other cases you wouldn’t know what the exact width and height of the element that we are positioning are, we will move them back. To do that we will need to write in the style.css file in the .minimap selector:
transform: translateX(-50%) translateY(-50%);
Opening the Player with that change will yield:
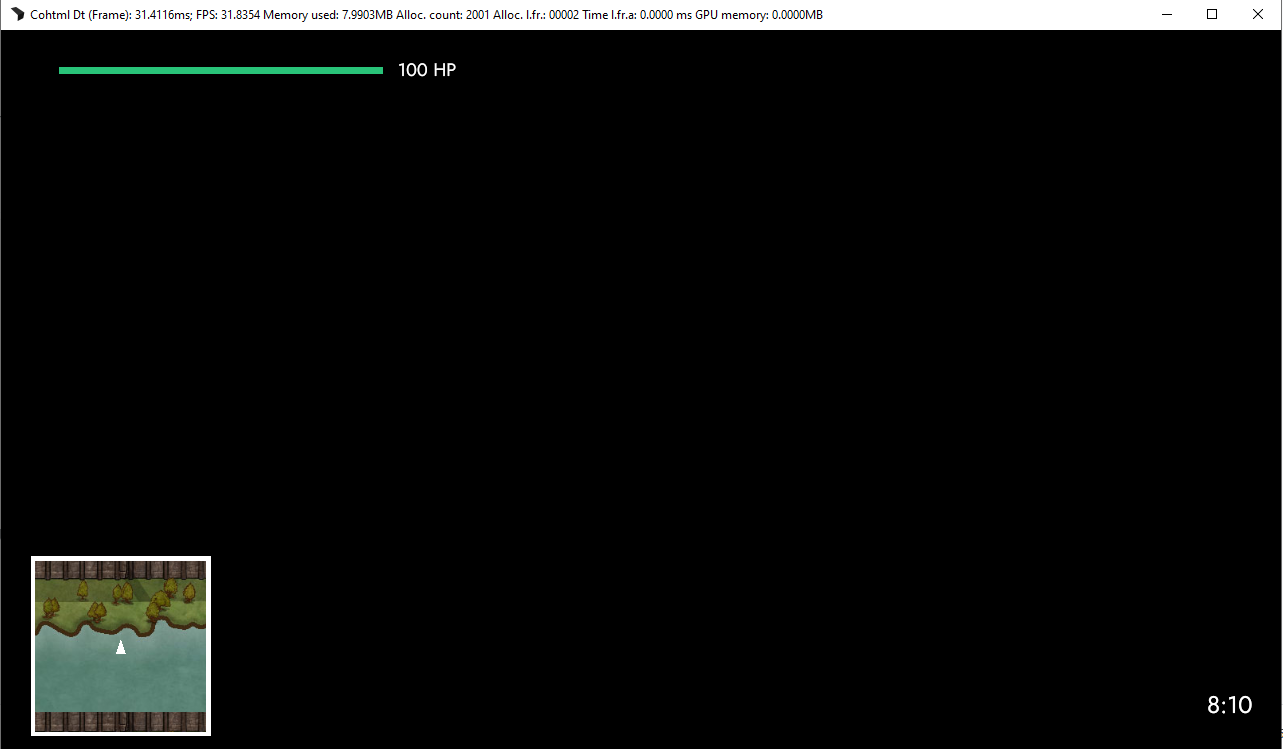
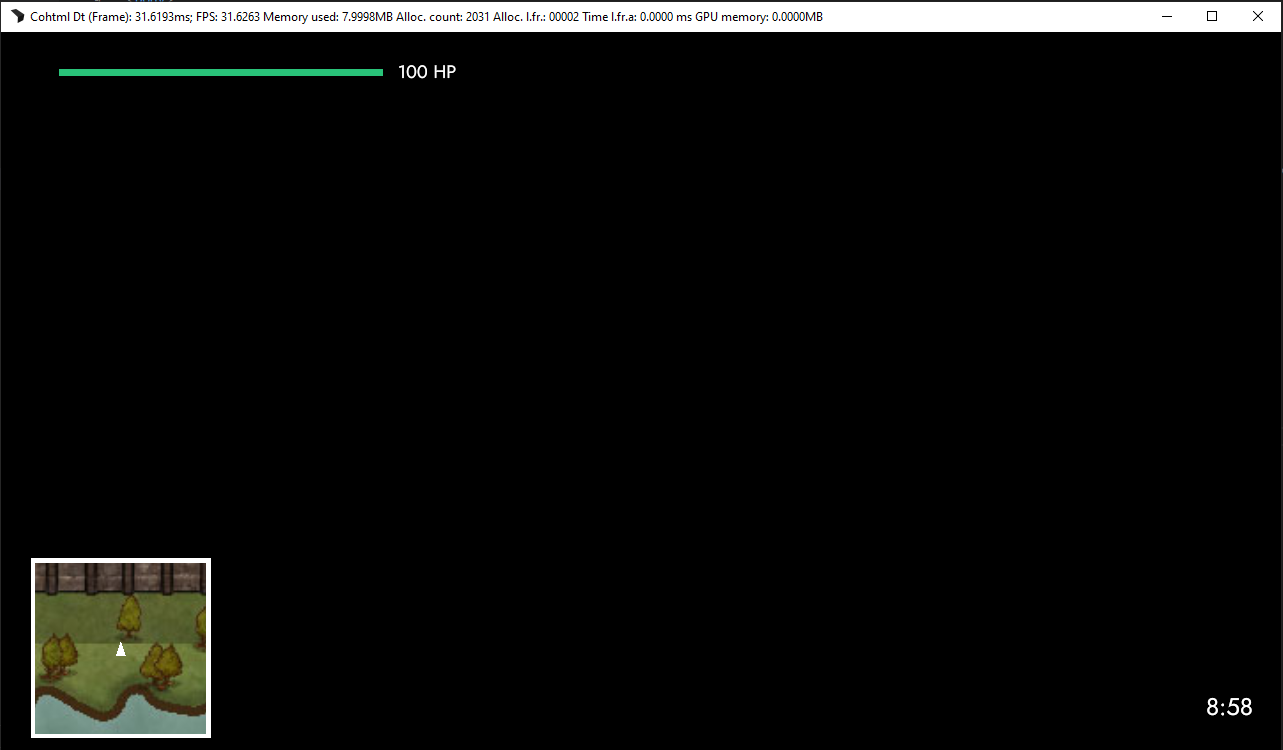
Everything looks back to normal now. .Just to make sure, we will change the x and y properties of the model to 0.
This doesn’t look right again. Shouldn’t having 0, 0 coordinates be in the top left corner of the map? To fix that we can set the translateX and translateY properties to be a positive 50%.
One last thing to do now would be to enlarge the minimap so that we are able to move it with the movement of our character without seeing the edges. To do that, we will change the width and height of the .minimap selector in the style.css file to 200% and then set the transform property to translate to 25%. This is because we have doubled the size, hence we need to double down the offset.
    width: 200%;
    height: 200%;
    transform: translateX(25%) translateY(25%);
And now we set the x and y properties in the model back to 100:

Wait a minute. Where did the map go? The explanation is pretty simple - since the 0, 0 coordinate of the map is on the marker (which is in the center), moving the map 100 pixels will move it away from the marker. Fixing that is pretty simple - we just need to add a minus in front of the model. That way, if the player moves a 100 pixels from the edge, the map will move in the opposite direction, creating the illusion of the player moving.
data-bind-style-left="-{{PlayerModel.minimap.x}}"
data-bind-style-top="-{{PlayerModel.minimap.y}}"
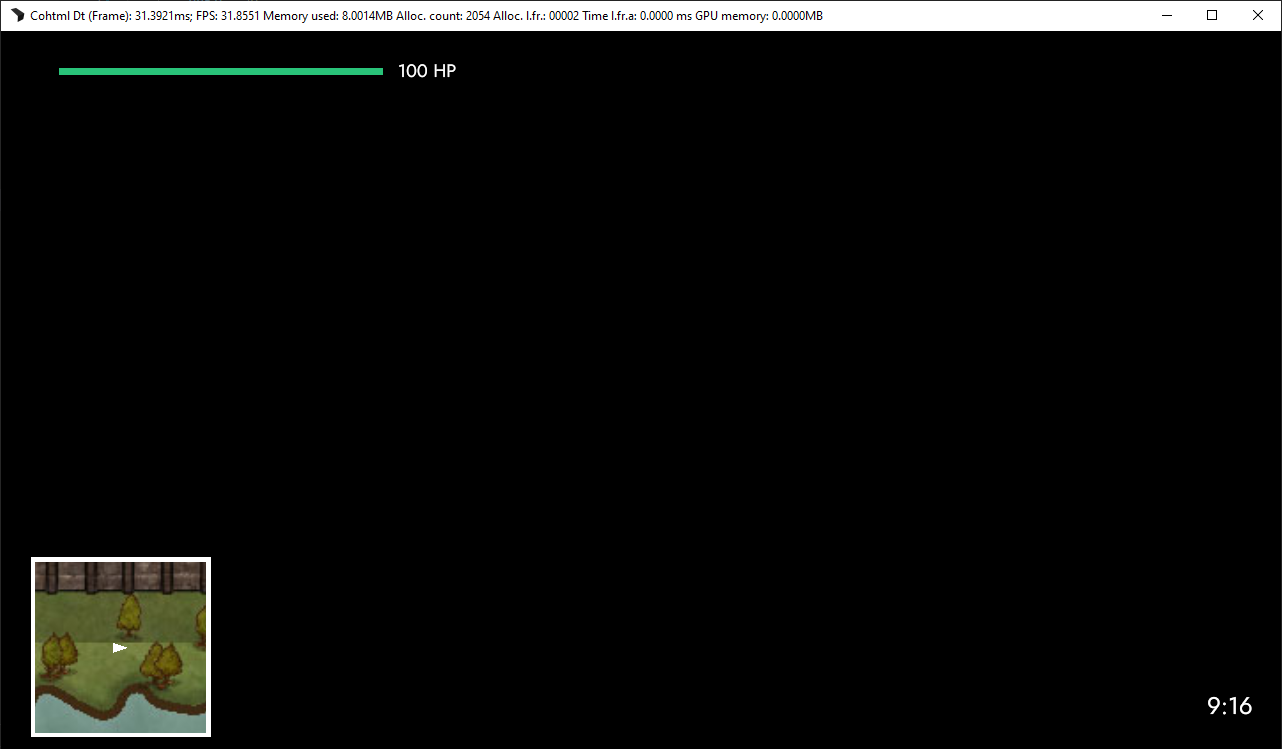
Rotating the map
And with that we have the map set up. Now we can start to rotate the marker based on the direction our character is looking at to complete the feel of the minimap. To do that we will use another data-binding. This time it is data-bind-style-transform-rotate. To use it, simply pass a model of the rotation in degrees.
In our case it would be:
<div class="marker" data-bind-style-transform-rotate="{{PlayerModel.minimap.angle}}"></div>
However, since in the beginning of this chapter we set the angle property to 0, nothing will change in the Player. In order to change that, we will just set the angle to 90.
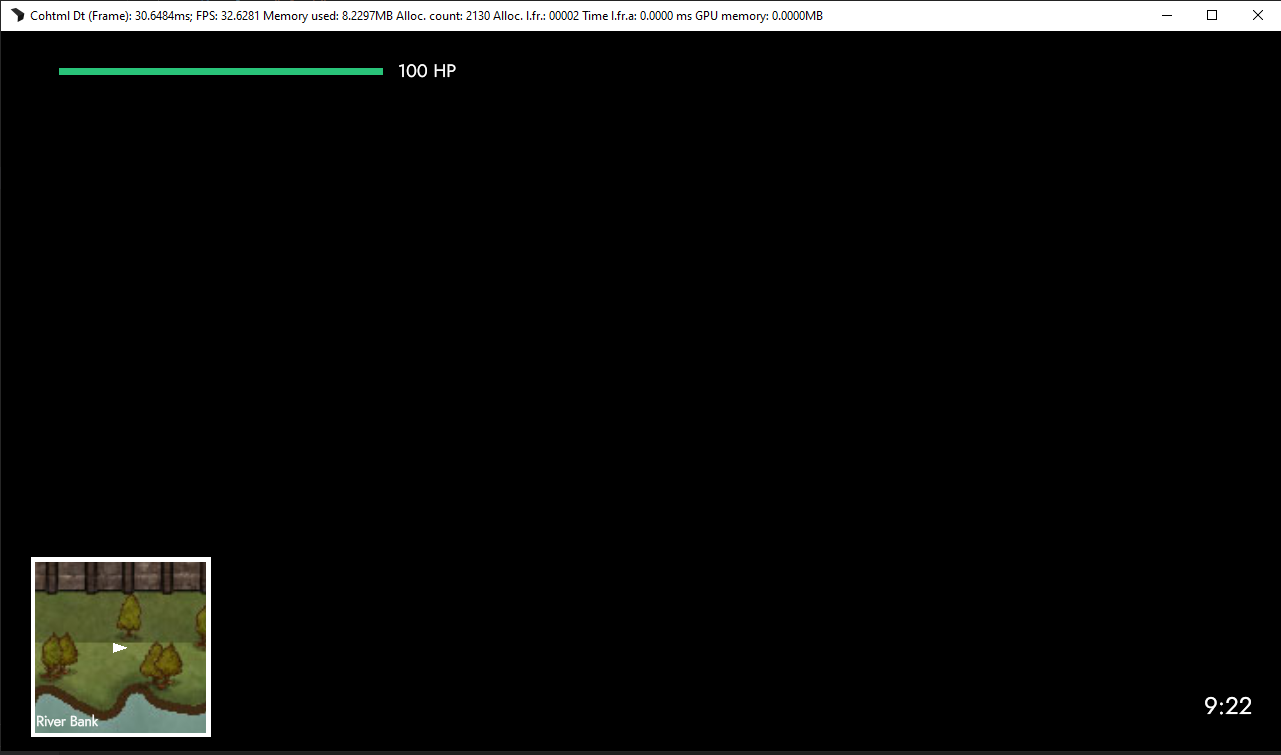
Adding a label to our minimap
And with that, we have a complete minimap that responds to our game. But we are not done just yet. To make our map more complete, we will add a label that will show us where exactly on the map we are. We can do this by adding a label property to our model and setting its value to “River Bank” (for example).
label: "River Bank"
In the index.html we will add a new element in the minimap-container called map-label. To display the label we have set in the model, we will use data-bind-value again.
<div class="map-label" data-bind-value="{{PlayerModel.minimap.label}}"></div>
This is the end of Chapter 4 and concludes the first part of our tutorial - the HUD. With Chapter 5 we will start working on the Pause Menu and show more complex features of Gameface like events and conditional data-bindings, the component library that we have developed, and more.
Get the chapter files
You can download the completed chapter from here