Chapter 7: Adding more menus
Now that we have our Settings Menu, we can start adding other menus like an Inventory and a Map. Since in a real game all of these menus won’t be on the same page, we need to add their content to be dynamically loaded in the Pause Menu. Luckily for us, we can use what we already have learned about data-binding to do that.
The first thing we need to do is to add a new value to our model. This would be activePauseMenu, which will control which screen in the Pause Menu is shown.
activePauseMenu: 'settings'
We can now add a new container in the .pause-menu called .tabs - inside, we’ll add a tab with the Settings text:
<div class="tabs">
    <div class="tab">Settings</div>
</div>
With this we can bind the Settings Menu to the model using data-bind-if:
<div class="settings-menu" data-bind-if="{{PlayerModel.activePauseMenu}} === 'settings'">
That way when we set the model to another menu, it will hide the settings and show the other. To trigger the change, we can add the following code to our script.js file:
function changeScreen(event) {
    if (event.target.classList.contains("tab")) {
        engine.trigger("change_menu", event.target.textContent.toLowerCase());
    }
}
This will allow us to send an event to the engine to change the activePauseMenu. One thing to note in this code is that this function will be attached to the .tabs container and to each individual tab - this allows us to benefit from the event propagation and have only one event attached (regardless of how many tabs there are). Inside this function we then need to check if the click target is a tab before we can trigger the ‘change_menu’ event and pass the text of the target tab.
Just like in Chapter 5 we don’t have a backend, so we need to listen to the ‘change_menu’ event in our frontend. As such, we’ll just write the following code in the script.js file:
engine.on('change_menu', (menu) => {
    PlayerModel.activePauseMenu = menu;
    engine.updateWholeModel(PlayerModel);
    engine.synchronizeModels();
})
Now we can set the activePauseMenu property of our model to be the string we passed in our engine.trigger function. In addition, we need to attach this event to our .tabs element. Since the tabs element is enclosed in a data-bind-if, if we make any reference to the .tabs element, each time we change the model the reference will be removed. This is why we’ll attach the event directly to our element with onmousedown:
<div class="tabs" onmousedown="changeScreen(event)">
If we now open our Player, we can see that clicking on the Settings tab will have no effect, meaning that everything is working properly. To verify that, we’ll add another tab called ‘Inventory’ which we’ll later use in the next chapter.
<div class="tab">Inventory</div>
And now if we open the Player and click on the Inventory tab, the settings menu should disappear. If we click back on the Settings tab, it should reappear. Now we’ll notice an issue: if we move the sliders, the values don’t get updated. The reason for that is identical to the one above (where we had to add the event listener to the element) - the data-bind-if changes the references.
Hence, we’ll copy over the code we wrote in the previous chapter and wrap it in an if statement, so that the event listeners only get attached when the settings menu is opened.
engine.on("change_menu", (menu) => {
    PlayerModel.activePauseMenu = menu;
    engine.updateWholeModel(PlayerModel);
    engine.synchronizeModels();

    if (menu === "settings") {
        const sliderVolume = document.querySelector(".slider-volume");
        const volumeValue = document.querySelector(".volume-value");

        sliderVolume.addEventListener("sliderupdate", (e) => {
            volumeValue.textContent = e.detail;
        });

        const sliderDifficulty = document.querySelector(".slider-difficulty");
        const difficultyValue = document.querySelector(".difficulty-value");

        sliderDifficulty.addEventListener("sliderupdate", (e) => {
            difficultyValue.textContent = e.detail;
        });
    }
});
And inside the engine.on("pause_toggle") callback we can do the following:
engine.on("pause_toggle", () => {
    PlayerModel.isPaused = !PlayerModel.isPaused;
    engine.updateWholeModel(PlayerModel);
    engine.synchronizeModels();

    if (PlayerModel.activePauseMenu === "settings") {
        const sliderVolume = document.querySelector(".slider-volume");
        const volumeValue = document.querySelector(".volume-value");

        sliderVolume.addEventListener("sliderupdate", (e) => {
            volumeValue.textContent = e.detail;
        });

        const sliderDifficulty = document.querySelector(".slider-difficulty");
        const difficultyValue = document.querySelector(".difficulty-value");

        sliderDifficulty.addEventListener("sliderupdate", (e) => {
            difficultyValue.textContent = e.detail;
        });
    }
});
That leaves us with the same code in two places which is suboptimal. To account for this, we’ll create a function called attachSliderListeners and use it in both places:
function attachSliderListeners() {
    const sliderVolume = document.querySelector(".slider-volume");
    const volumeValue = document.querySelector(".volume-value");

    sliderVolume.addEventListener("sliderupdate", (e) => {
        volumeValue.textContent = e.detail;
    });

    const sliderDifficulty = document.querySelector(".slider-difficulty");
    const difficultyValue = document.querySelector(".difficulty-value");

    sliderDifficulty.addEventListener("sliderupdate", (e) => {
        difficultyValue.textContent = e.detail;
    });
}
And then:
engine.on("pause_toggle", () => {
    PlayerModel.isPaused = !PlayerModel.isPaused;
    engine.updateWholeModel(PlayerModel);
    engine.synchronizeModels();

    if (PlayerModel.activePauseMenu === "settings") {
        attachSliderListeners();
    }
});

engine.on("change_menu", (menu) => {
    PlayerModel.activePauseMenu = menu;
    engine.updateWholeModel(PlayerModel);
    engine.synchronizeModels();

    if (menu === "settings" && PlayerModel.isPaused) {
        attachSliderListeners();
    }
});
We can now see the values change when we move the sliders in the Player:
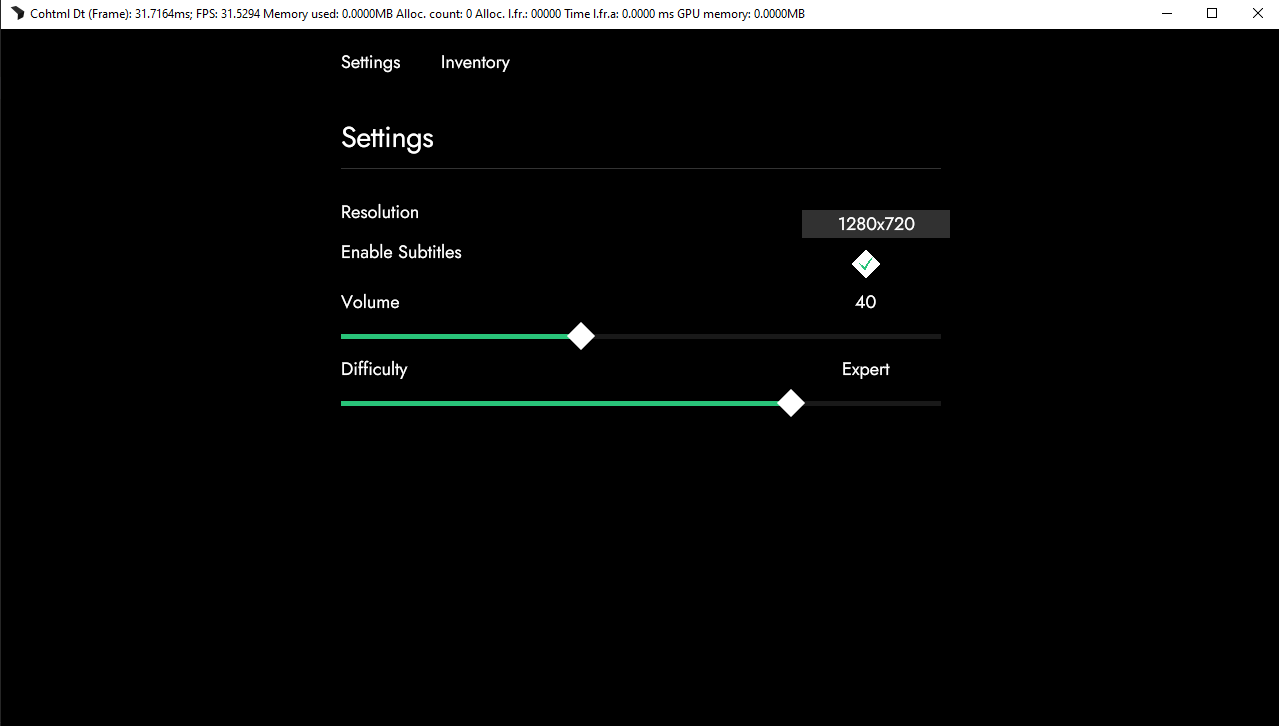
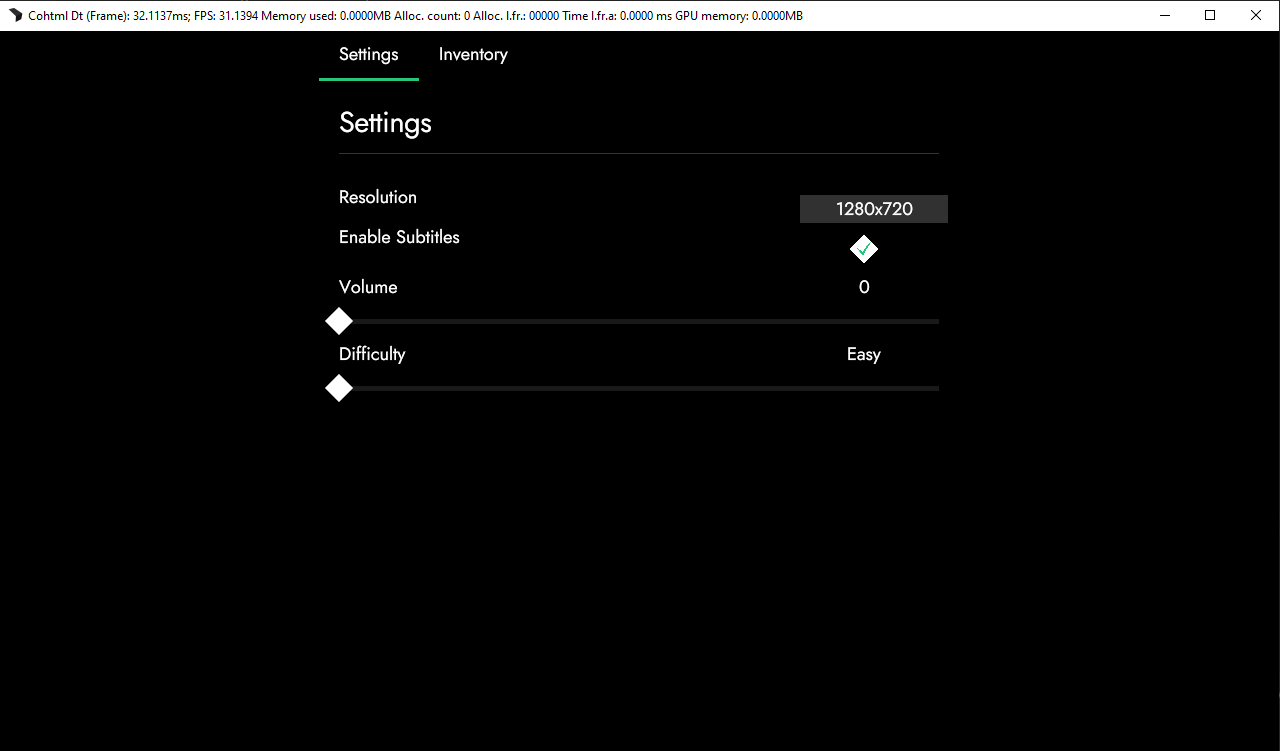
Before we end this chapter, we will go through one last thing to improve the look of our Pause Menu - set an active state to our tabs. That way, when a tab is pressed, it will set its state to be active and it will change its appearance.
In Chapter 3, we have already familiarized you with the approach we’ll take here with data-bind-class-toggle. To use it in our tabs, we’ll do the following:
<div class="tab" data-bind-class-toggle="active-tab:{{PlayerModel.activePauseMenu}} === 'settings'">Settings</div>
<div class="tab" data-bind-class-toggle="active-tab:{{PlayerModel.activePauseMenu}} === 'inventory'">Inventory</div>
When you select the different tabs in the Player, you will see the active one show:
In the next chapter we’ll create our first full UI screen using everything we have learned up to this point plus more.
Get the chapter files
You can download the completed chapter from here