Chapter 8: Inventory
In this chapter we’ll create our first whole UI page by using everything we have learned about data-binding and event triggering. This will be the inventory where we’ll have a grid (in which we’ll position items) and a details element (that will show the details of the selected item).
Drawing a grid of cells
To get started we’ll first draw our grid by using data-binding. Our first job is to create an array with empty objects that will represent the item slots in our model. The grid will be 5x6, meaning that we’ll need 30 items in our array. On that basis, we’ll add the following key:
inventoryItems: [
        null,
        null,
        null,
        null,
        null,
        null,
        null,
        null,
        null,
        null,
        null,
        null,
        null,
        null,
        null,
        null,
        null,
        null,
        null,
        null,
        null,
        null,
        null,
        null,
        null,
        null,
        null,
        null,
        null,
        null
    ],
Building the inventory grid
We can now start building our Inventory grid - we will first add a new screen in the index.html file in the .pause-menu beneath the .settings-menu called “inventory” and data-bind it like we did for the Settings Menu in the previous chapter. This time, however, the activePauseMenu should be inventory instead of settings.
<div class="inventory" data-bind-if="{{PlayerModel.activePauseMenu}} === 'inventory'">

</div>
Inside we’ll add:
<div class="inventory-grid">

</div>
<div class="inventory-details">

</div>
Looping through the inventory elements
To build the grid, we’ll use another data-binding called data-bind-for. This is a structural data-binding just like data-bind-if and allows you to loop through an array and duplicate html elements based on that array.
The syntax for data-bind-for is “iterator:{{Model}}”, which is quite similar to data-bind-class-toggle. Here we have an iterator and the model; optionally, we can also use the index of the looped element if we need it - “index, iterator:{{Model}}”. We can then leverage the iterator or index as a separate model that corresponds to that array item.
In our case we’ll make a div element with the .inventory-grid-cell class and inside we’ll add another with the .inventory-item one and place them in the .inventory-grid element:
<div class="inventory-grid">
    <div class="inventory-grid-cell">
        <div class="inventory-item"></div>
    </div>
</div>
It’s time to fill our inventoryItems model objects with data:
    inventoryItems: [
        {
            title: 'Sharp Spear',
            count: 1,
            image: 'spear',
            description: 'A thrusting or throwing weapon with long shaft and sharp head or blade. Great for medium to long range combat'
        },
        null,
        null,
        null,
        null,
        null,
        {
            title: 'Horned Helmet',
            count: 1,
            image: 'helmet',
            description: 'Head covering made of a hard material to resist impact with two sharp horns on the side'
        },
        {
            title: 'Axe',
            count: 1,
            image: 'axe',
            description: 'Cutting tool that consists of a heavy edged head fixed to a handle with the edge parallel to the handle and that is used especially for felling trees and chopping and splitting wood or your enemies.'
        },
        {
            title: 'Longbow',
            count: 1,
            image: 'bow',
            description: 'Hand-drawn wooden bow held vertically and used especially by medieval English archers'
        },
        {
            title: 'Arrow',
            count: 5,
            image: 'arrow',
            description: 'Shot from a bow and usually having a slender shaft, a pointed head, and feathers at the butt'
        },
        null,
        null,
        null,
        null,
        null,
        null,
        null,
        null,
        null,
        null,
        null,
        null,
        null,
        {
            title: 'Beer',
            count: 2,
            image: 'beer',
            description: 'Carbonated, fermented alcoholic beverage that is usually made from malted cereal grain (especially barley) and is flavored with hops'
        },
        null,
        null,
        null,
        null,
        null,
        null,
    ],
We are going to only add data to a handful of objects to show how they can be arranged. In our case, we already have the css styling set in the .inventory-grid element to have a grid of 5 rows and 6 columns.
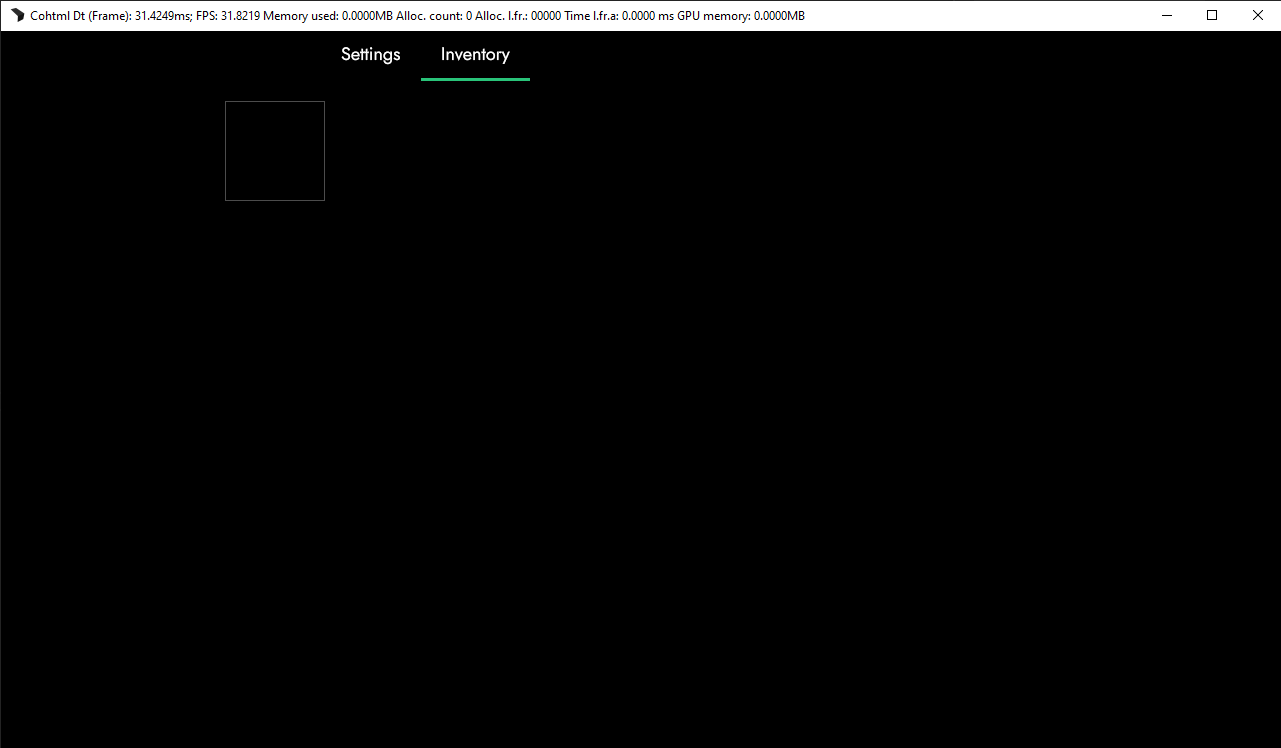
If we open the Player, all we’ll see is the single cell we’ve added earlier:
To show the rest of the cells, we’ll add the following code to the cell item:
<div class="inventory-grid-cell" data-bind-for="index, item: {{PlayerModel.inventoryItems}}">
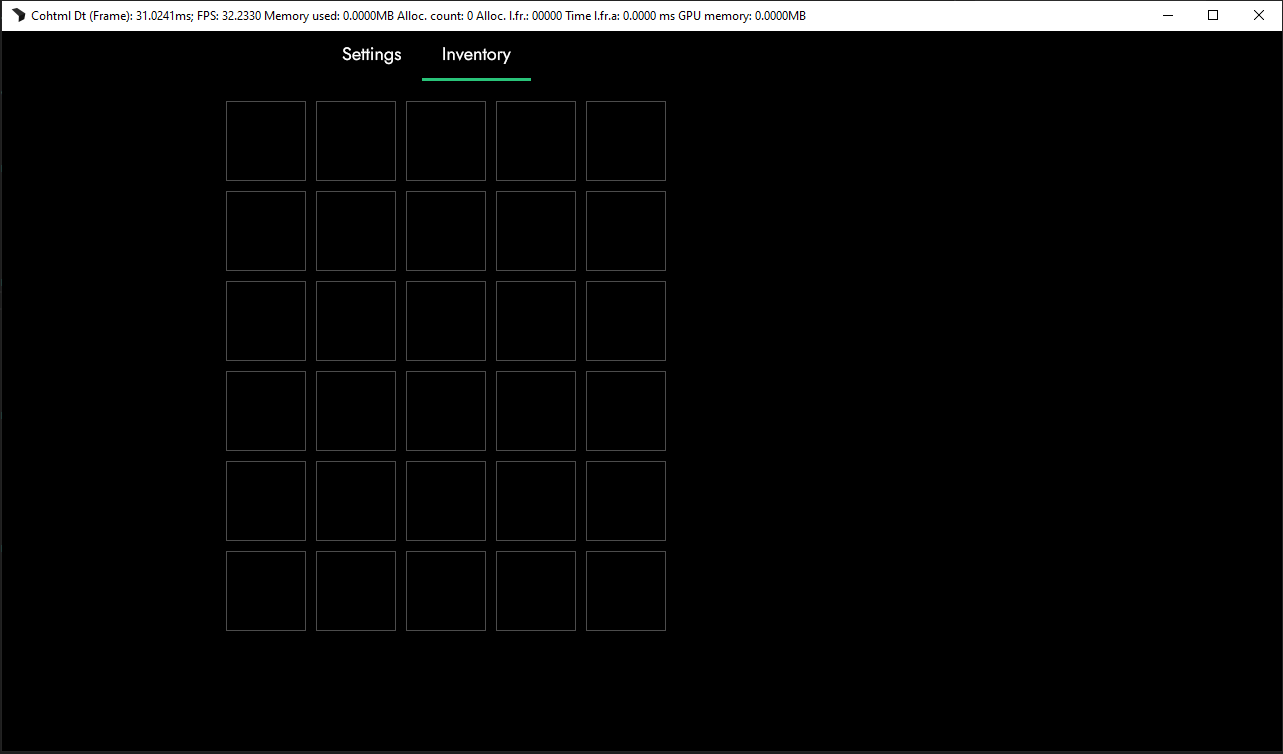
This will create 30 cells, corresponding to the amount of objects we have in the inventoryItems key in our model (which we can now see in the Player):
We can now start filling up our cells. To do that, we’ll add a background image for each item that has an image key - we can achieve this by using data-bind-style-background-image-url (which we used in chapter 4 to set our minimap background image).
In the .inventory-item element, we’ll add the following:
<div class="inventory-item" data-bind-style-background-image-url="'./assets/' + {{item.image}} + '.png'"></div>
where item is each object in the model.
We’ll now be able to see the images of our inventory items in the Coherent Player:
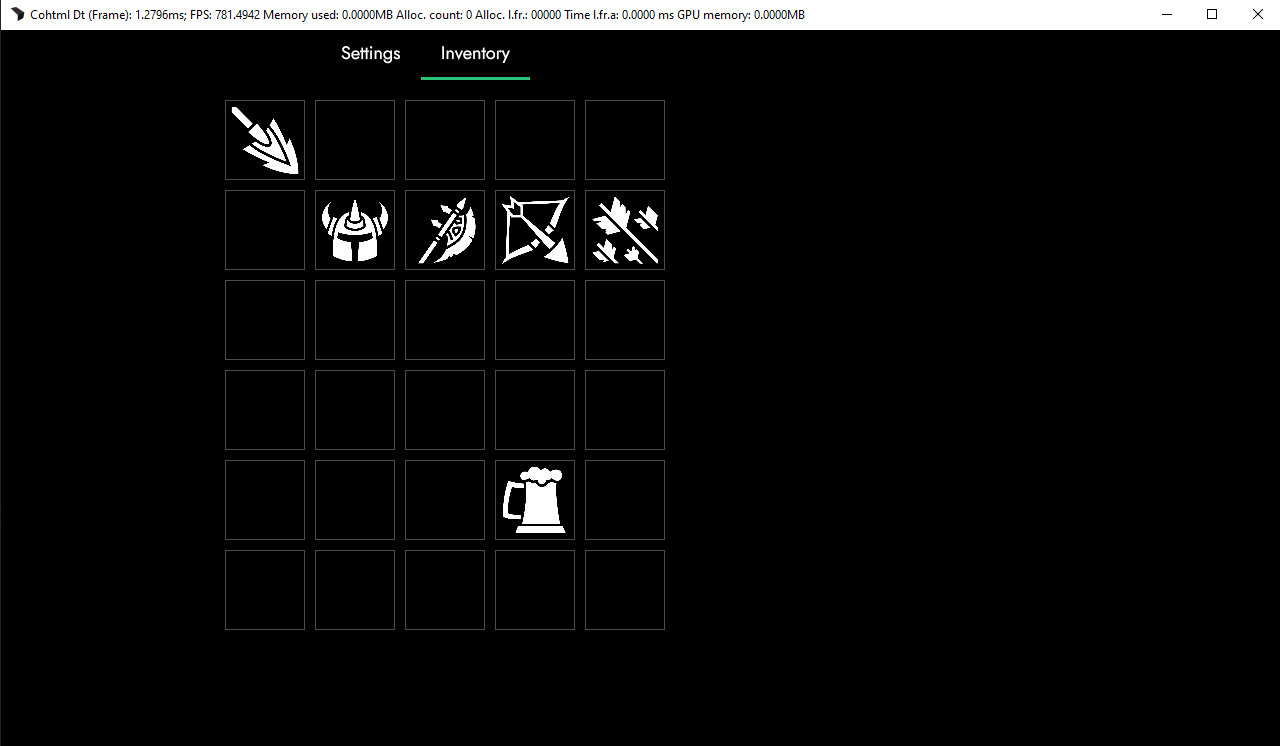
Since some of the objects in the model are empty, their data-bind-style-background-image-url will be resolved as ‘./assets/undefined.png’, which is fine for now, but may become an issue later on. In order to resolve that we’ll use data-bind-if to check if the item’s count property is greater than 0 and if it isn’t to render the .inventory-item. We can do that in the following way:
<div class="inventory-item" data-bind-if="{{item.count}} > 0" data-bind-style-background-image-url="'./assets/' + {{item.image}} + '.png'"></div>
Now there won’t be any items in the cells with null objects.
Showing the item information
Selecting the item
We have now created our inventory grid and displayed our items. The last thing we need to do for this chapter is to display a selected item’s information.
This can easily be done by using data-binding again, but this time we’ll data-bind an event to our inventory item. We are using data-binding instead of just adding an event so we can have access to our model and use the index of each item to select it. To add a data-binding event all we need to do is write data-bind-[event], where event is one of the supported events in Gameface.
The function that we’ll attach to our data-bound event will be in the model, as the purpose of data-bound events is to allow you to execute code from the backend more easily.
In our model we’ll add the following:
selectedItem: 0,
itemSelect: (index) => {
    PlayerModel.selectedItem = index;
    engine.updateWholeModel(PlayerModel);
    engine.synchronizeModels();
}
where the selected item will be the index of the item we have selected (in this case 0 as we’ll default to the first item of our inventory, and the itemSelect function will change it based on the index of the item).
To attach our event listener through data-binding, we just need to add to our inventory-item:
data-bind-click="PlayerModel.itemSelect({{index}})"
Now every time we click on an inventory item we’ll change the selected item to be the index of the clicked one. (If you try it in the Player right now, nothing will happen as we haven’t added any visual indicators.) The simplest to achieve this would be to add a class when an item is selected. From the previous chapters you already know how to use data-bind-class-toggle, so you are already familiar with the concept. In this case the data-binding will be:
data-bind-class-toggle="selected-item:{{index}} === {{PlayerModel.selectedItem}}"
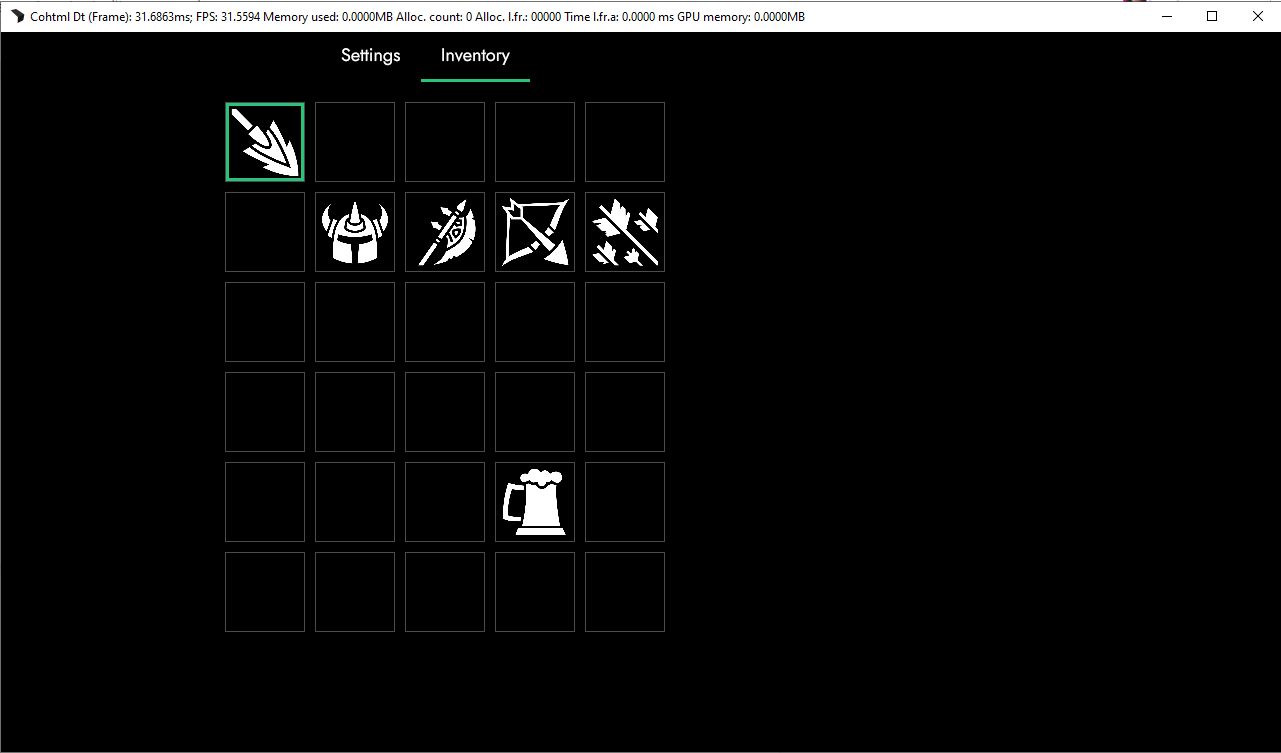
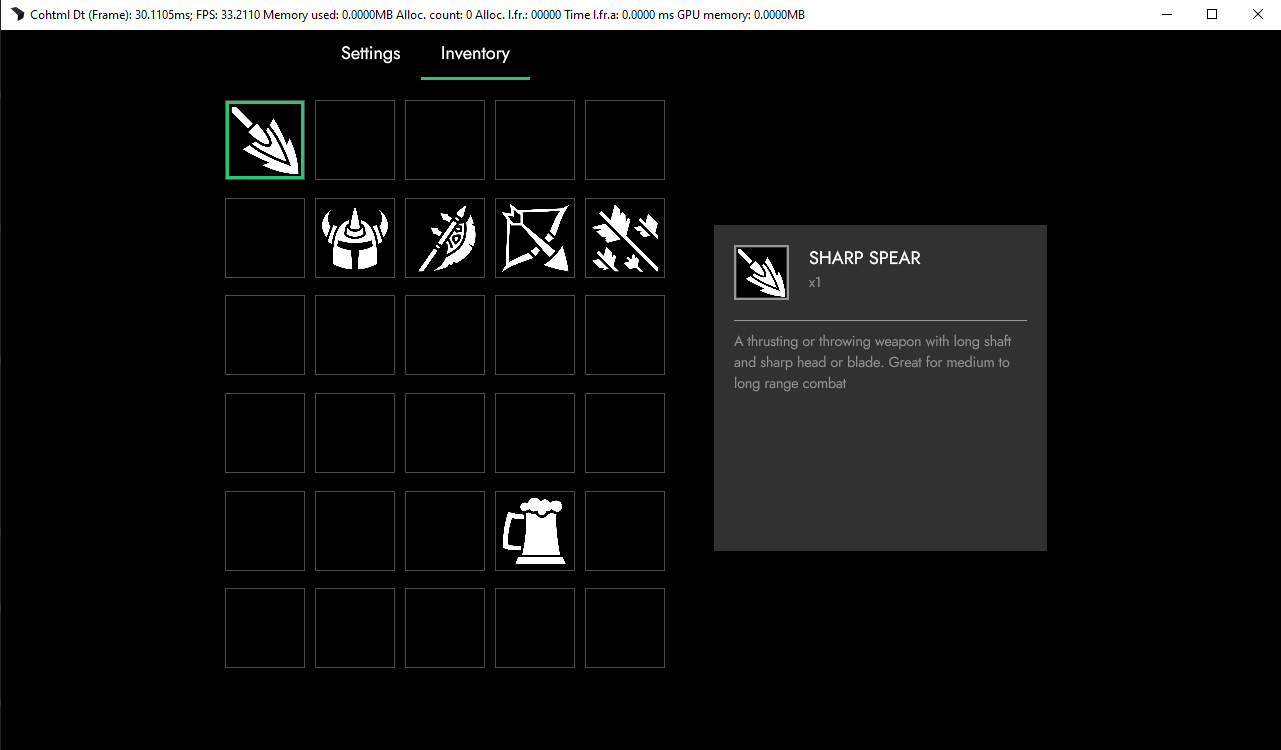
Here we simply check if the index of the item matches the selectedItem. If we open it in the Player, we’ll see a green border around our selected item.
Displaying the selected item
The last part of this chapter will look at how to display the selected item information to the side of our grid. To achieve this we simply have to add a few elements and data-bind the value of the selected item. The trickier part here is binding the value, as the selected item is not an object but a number. This however can be solved very easily by remembering that the inventoryItems are still an array, and we can access array items by using the index of the item. In our case it would be something like data-bind-value=”PlayerModel.inventoryItems[{{PlayerModel.selectedItem}}].description”
Let’s create a title, image, count and description div elements in the .inventory-details-wrapper we added earlier and data-bind the selected item value:
<div class="inventory-details">
     <div class="inventory-details-wrapper">
          <div class="inventory-row">
               <div class="inventory-details-image"
                    data-bind-style-background-image-url="'./assets/' + PlayerModel.inventoryItems[{{PlayerModel.selectedItem}}].image + '.png'"></div>
               <div>
                     <div class="inventory-details-title" data-bind-value="PlayerModel.inventoryItems[{{PlayerModel.selectedItem}}].title"></div>
                     <div class="inventory-details-count" data-bind-value="'x' +PlayerModel.inventoryItems[{{PlayerModel.selectedItem}}].count"></div>
               </div>
          </div>
          <div class="inventory-details-description" data-bind-value="PlayerModel.inventoryItems[{{PlayerModel.selectedItem}}].description"></div>
    </div>
</div>
If we open the Player we’ll see the details of the first item appear:
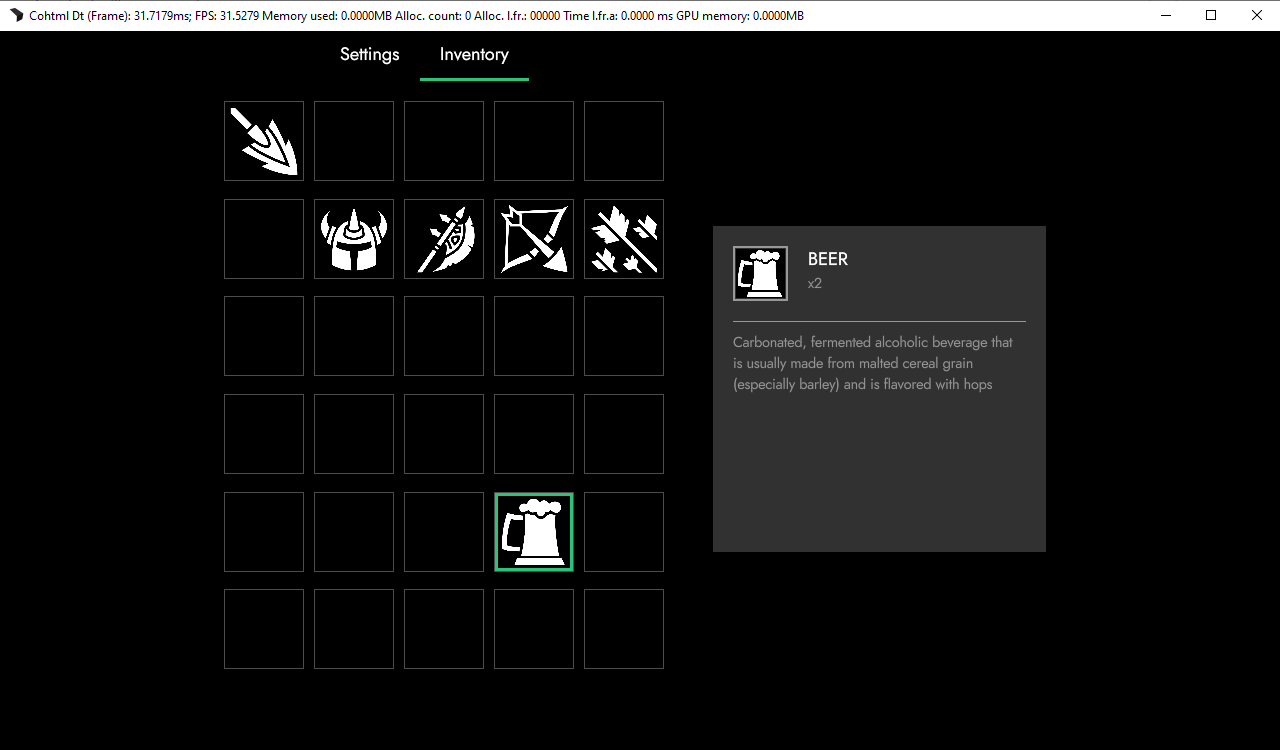
Since we have already set up our logic for changing the selected item, if we click on other items their details will be shown:
While this works, it’s not an ideal solution for when we have large codebases or models, as it will make our code harder to read and increase the chance of making mistakes. This is why Gameface allows the use of something called an Observable model.
An Observable model is a smart object which will automatically push itself for update when some of its properties are changed. This is especially useful in situations where we need to keep an active state (as is our case in the inventory active item).
To create an Observable model, we’ll just need to create the observableModel in our model.js file in the engine.whenReady:
    engine.createJSModel("PlayerModel", model);

    engine.createObservableModel("activeItem");
    activeItem.item = PlayerModel.inventoryItems[PlayerModel.selectedItem];

    engine.synchronizeModels();
Here we are using engine.createObservableModel to create our Observable model. Now each time the activeItem item changes, it will reflect in the data-binding where we’ve used our new model. To make this change we’ll add to the PlayerModel.itemSelect function:
   engine.updateWholeModel(PlayerModel);
   activeItem.item = PlayerModel.inventoryItems[PlayerModel.selectedItem];
   engine.synchronizeModels();
We can now change in the index.html the bindings with the new Observable model:
<div class="inventory-details-image" data-bind-style-background-image-url="'./assets/' + {{activeItem.item.image}} + '.png'"></div>
<div>
     <div class="inventory-details-title" data-bind-value="{{activeItem.item.title}}"></div>
     <div class="inventory-details-count" data-bind-value="'x' + {{activeItem.item.count}}"></div>
</div>
If we save and check the Player, we can see that nothing has changed. With this we conclude chapter 8. In the next chapter we’ll create a Map screen using some more advanced features of Gameface.
Get the chapter files
You can download the completed chapter from here