Unreal Engine Chapter 2: Map setup
In this chapter we will go over how the StarterGuide map was configured. Since the map is supposed to be a quick and simple demonstration, we won’t go over details such as how to setup a View in Blueprint, as this information is already available in our Getting started section of our documentation.
Creating the Map
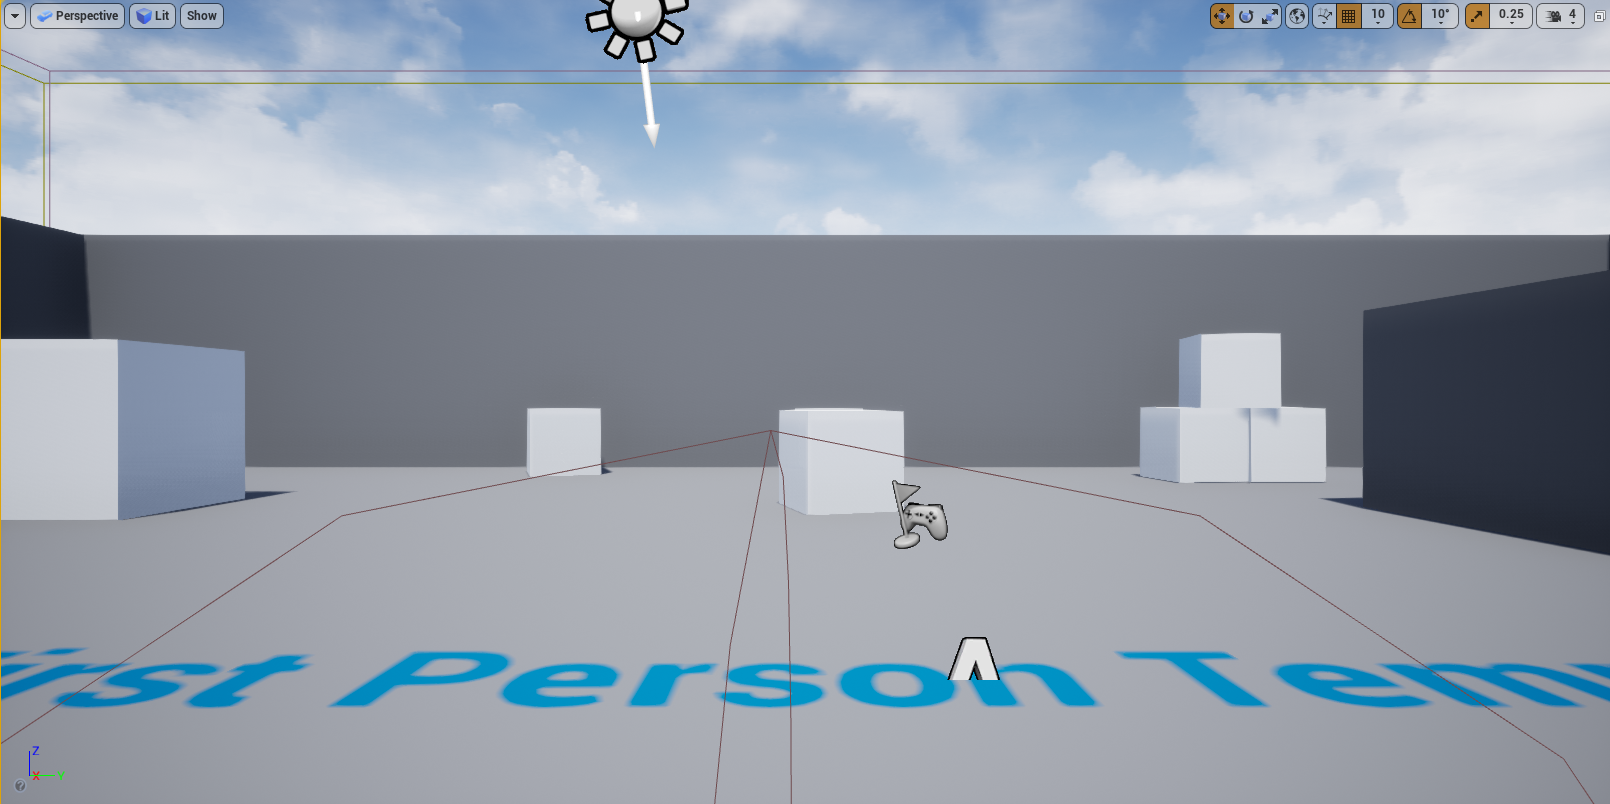
The StarterGuide map was duplicated from the Example map, since it contained most of the required setup that we need, like setting up the View. In this example, the two in-world Cohtml Planes from the Example map were removed, as we don’t need them for our purpose. The map should essentially look like this:
Loading the Starter Guide HTML page
Next we need to modify the Level Blueprint, so that the correct HTML page gets loaded by our View. Once we’ve opened up the Blueprint Editor of our map and are on the Event Graph tab, we just need to modify the Page Url in the Setup View object to point to coui://uiresources/StarterGuide/index.html. Here is a screenshot of the end result:

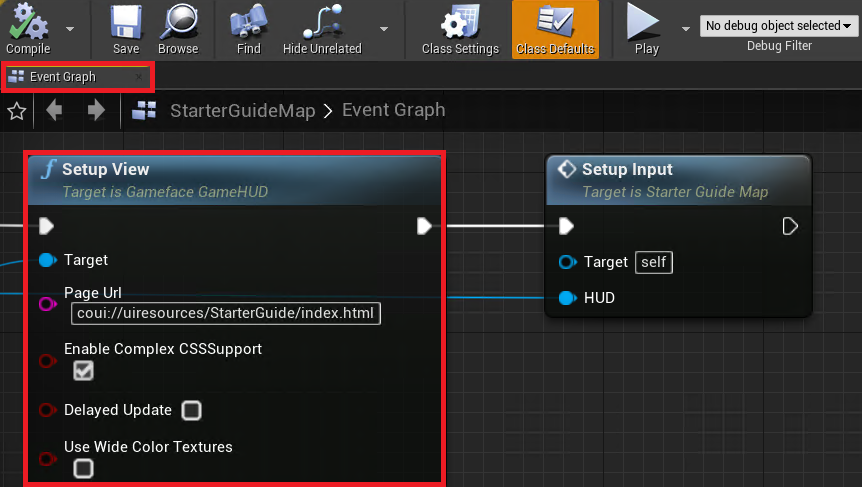
This will now allow us to launch the UI that was created in the original Starter Guide, and will look exactly the same as it does by the end of Chapter 9.
Adding a HUD and Game Mode
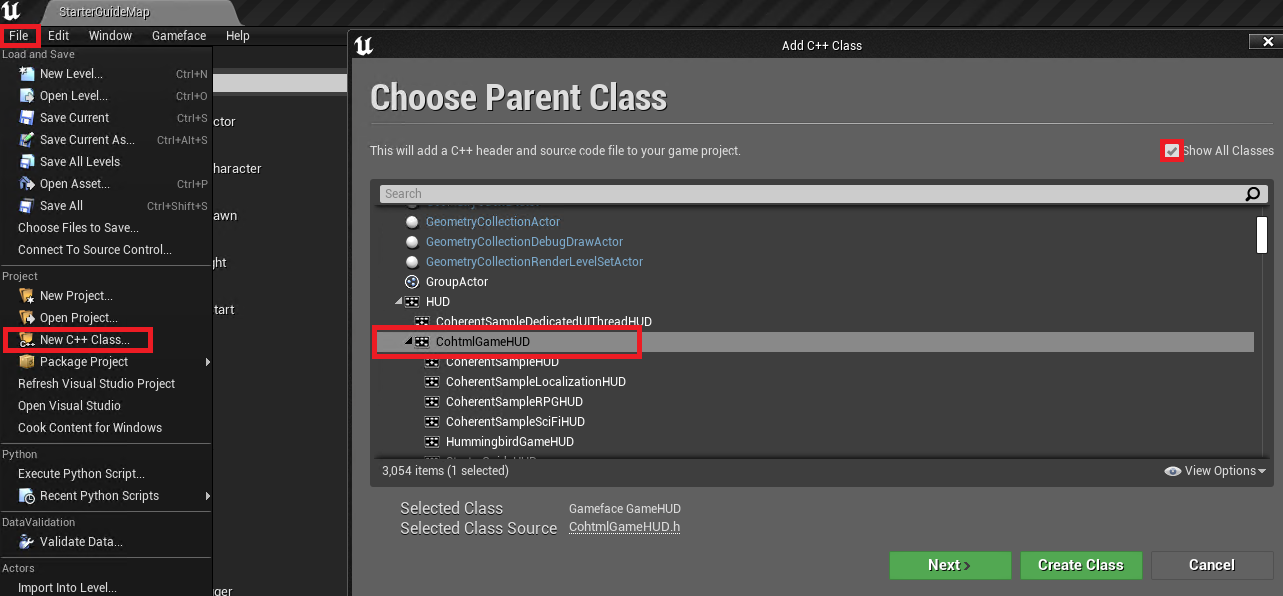
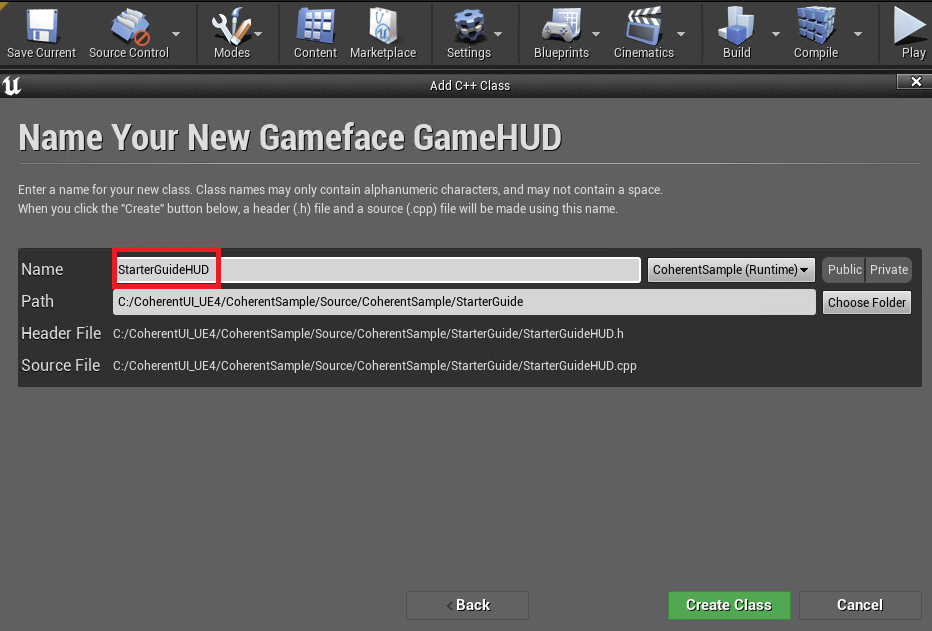
Now we need to create a new C++ HUD, which will hold our View and do our model creation. This HUD needs to have CohtmlGameHUD as its parent class and call it StarterGuideHUD, to be created under CoherentSample/Source/CoherentSample/StarterGuide. Anyone familiar with Unreal, will find this straightforward, but for demonstration’s sake, this screenshot showcases how this is accomplished:
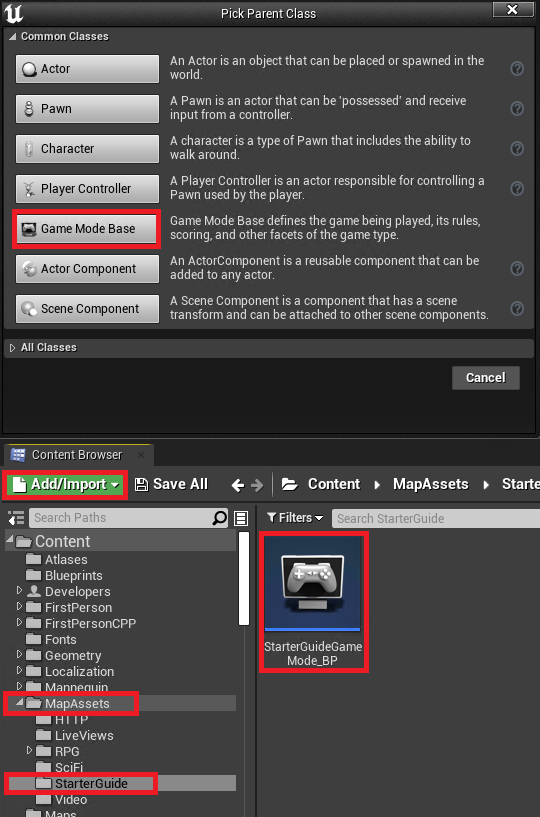
Once we have our C++ files created, we can proceed to create our Game Mode Blueprint asset, through which we will set the HUD to our newly-created class. This is done through the Add/Import button in the Content Browser tab (while in Content/MapAssets/StarterGuide), clicking on Blueprint Class and selecting Game Mode Base as the parent Blueprint class. The created asset can be named as StarterGuideGameMode_BP.
Again, nothing complicated for the regular Unreal Engine user, but once again to ensure an easy time for a broader audience, here is another screenshot:
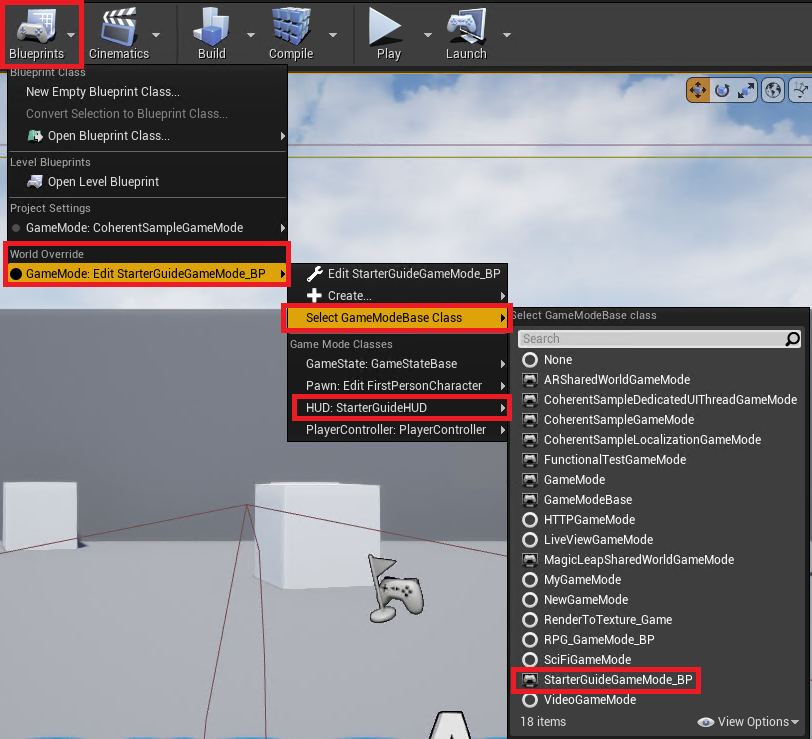
All that’s left is to do is to use the World Override settings to change the Game Mode to our newly-created StarterGuideGameMode_BP asset and then switch the HUD to our StarterGuideHUD class. Here’s another screenshot showcasing this:
We’re all set up now! In the next chapter we will finally start implementing the more interesting parts of this guide, namely the first model!